新規記事の投稿を行うことで、非表示にすることが可能です。
2016年10月24日
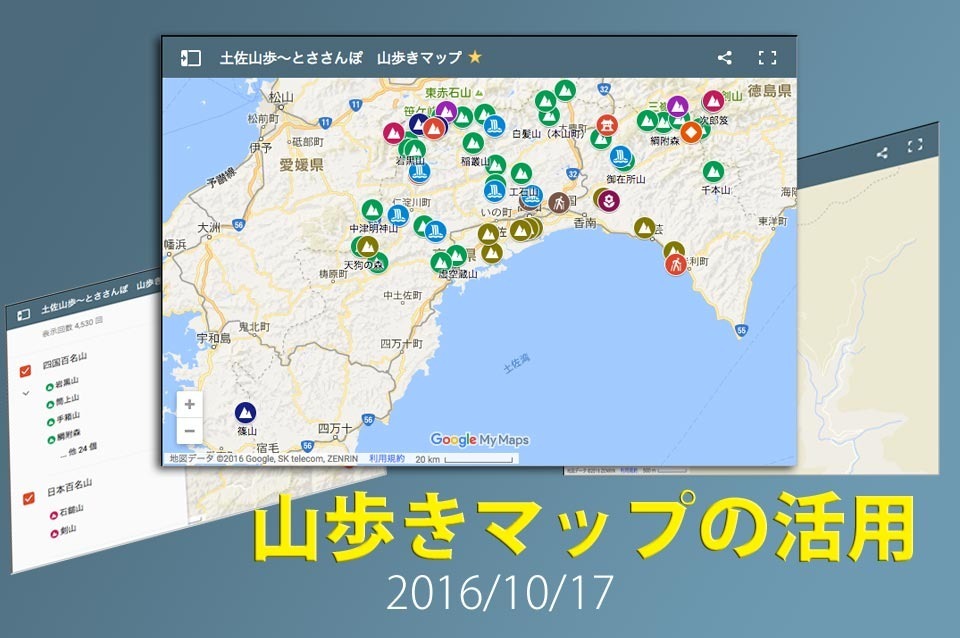
Google マイマップ 山歩きマップの活用
山歩きの記事には、マイマップを掲載しています。
記事の上方には、ルートマップ(ルートを表示のマップ)が表示されます。
このルートマップは、記事のポイントを地図で表示しています。
また、記事の一番下には、「土佐山歩〜とささんぽ 山歩きマップ」を掲載しています。
こちらは、山登り記事の一覧を表示しています。目次としての役割で作っています。
マイマップ作成のヒントになることと思います。ぜひご活用ください。
チャプター |
1.ルートマップ編 山歩きのルートを記載したマップ ポイントの説明有
2.山歩きマップ 基本編 アイコンを記載したマップ 記事へのリンク有
3.レイヤー編 レイヤーによる分類を実施
4.導入編 自分のマイマップを作成する前段階
5.作成編 アイコンを表示させるマップの作成方法
6.ラベル編 地図にアイコンのラベルを表示させる方法
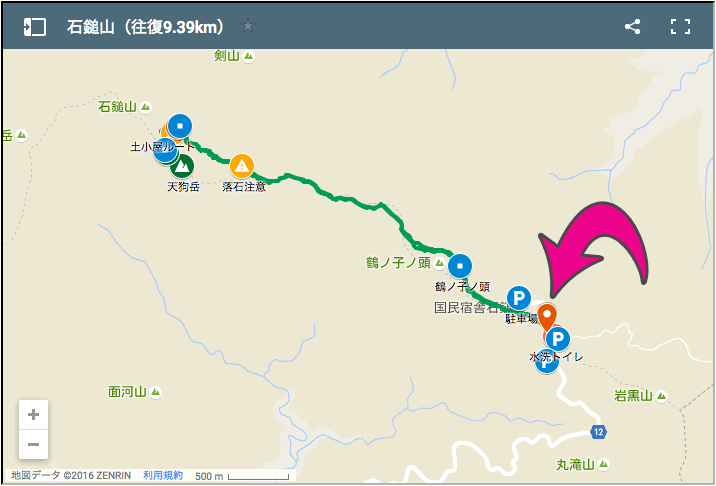
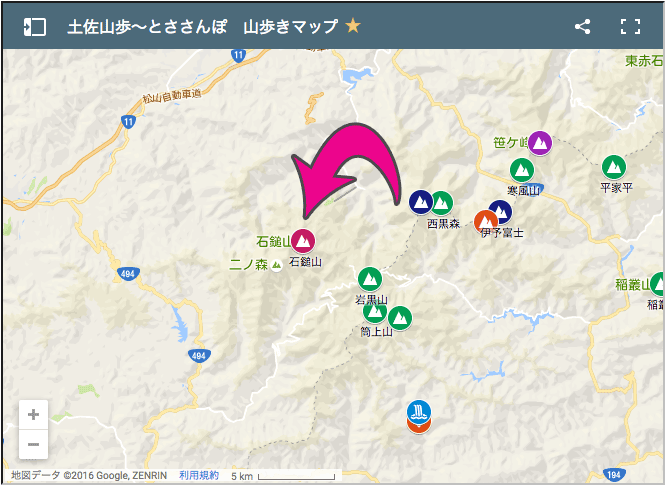
1. ルートマップ編 |
1.アイコン
「石鎚山」のルートマップを例に説明します。「登山口」のアイコンをクリックする。
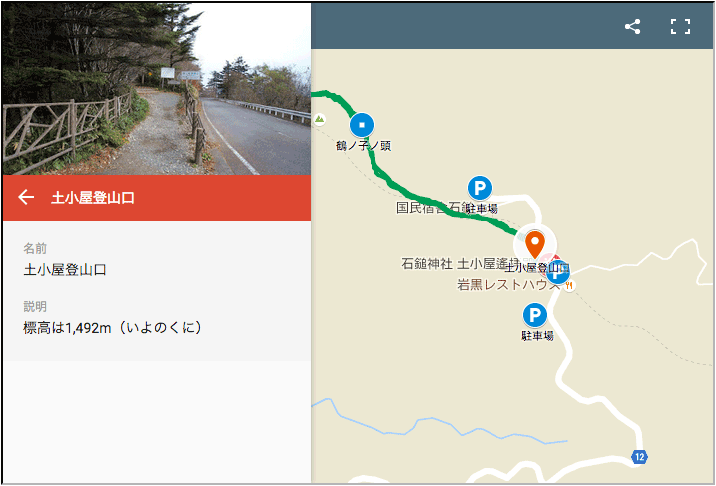
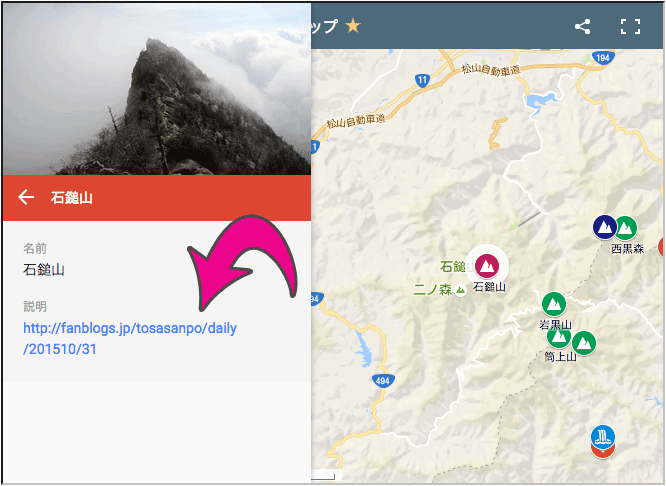
2.写真と説明
「登山口」の写真と、説明が表示されます。
全てのアイコンで写真が表示されるわけではありませんが、出来るだけ掲載するようにしています。
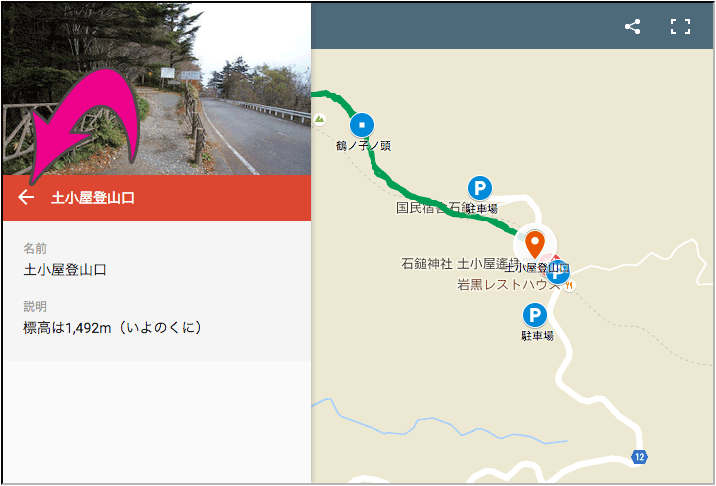
3.説明を閉じる
では次に、図の「←」(矢印)をクリックして、説明を閉じます。
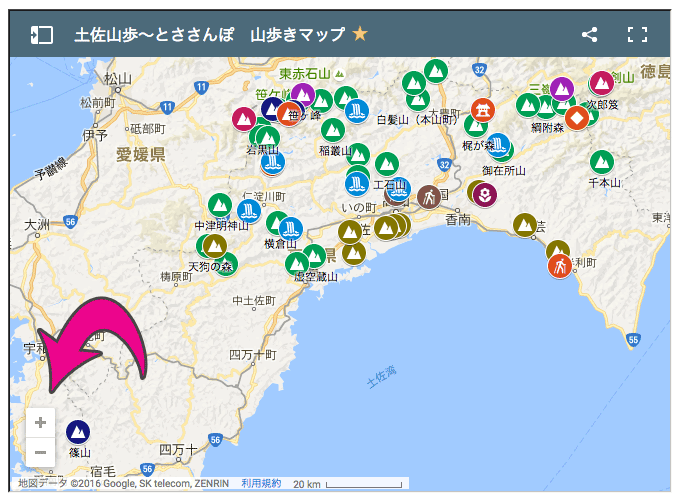
2. 山歩きマップ 基本編 |
1.拡大(ズーム)
記事の下の方に掲載している、「山歩きマップ」です。左下の「+」ボタンを使って、地図を拡大してみます。
2.アイコン
アイコンをクリックします。例として「石鎚山」をクリックしてみます。
3.説明
山の写真とリンクが表示されます。リンクをクリックしてみます。
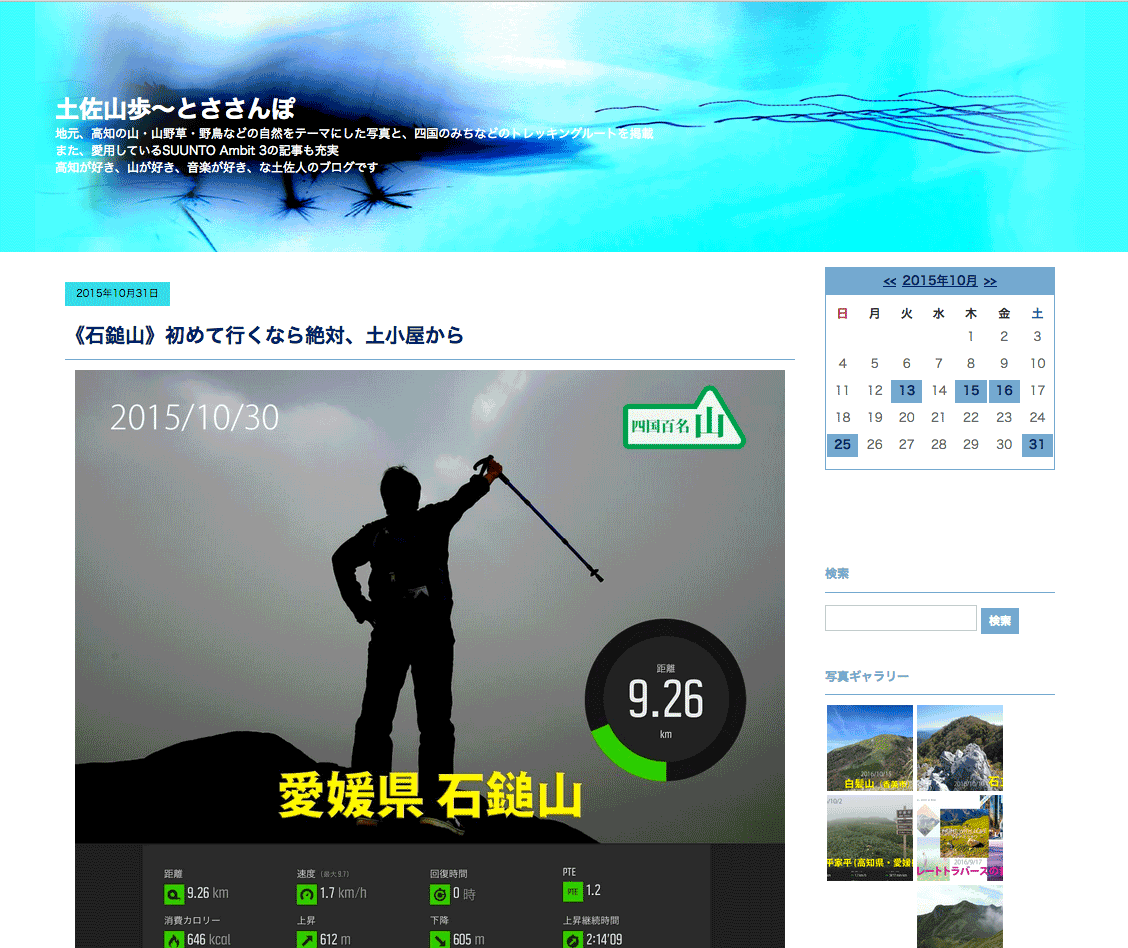
4.記事リンク
土佐山歩の記事が表示されます。
3. 山歩きマップ レイヤー編 |
この山歩きマップは、レイヤーという機能で分類しています。
「日本百名山」だけ表示、とか出来ます。(2座しか出ないけど…)
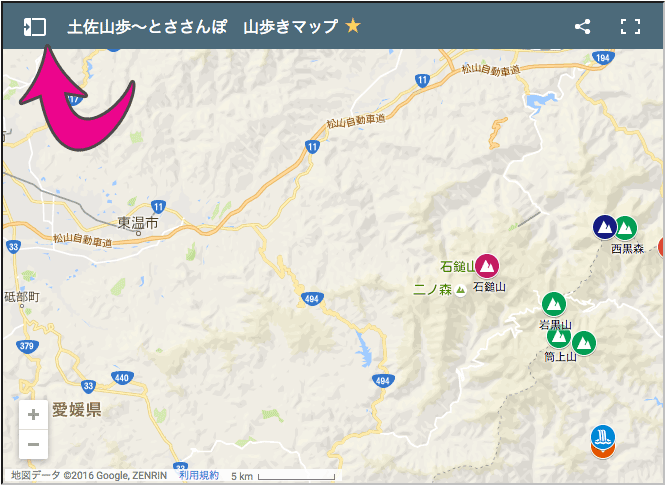
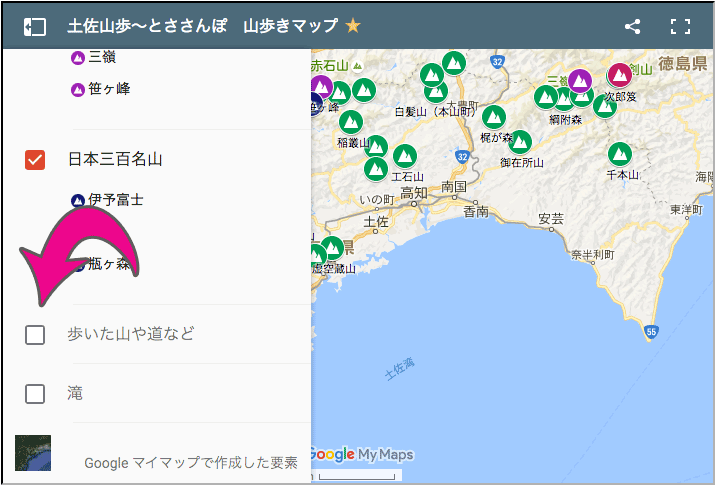
1.レイヤー
左上のボタンをクリックします。
2.チェックオフ
下の方にある「歩いた山や道など」「滝」のチェックボタンの表示を消します。
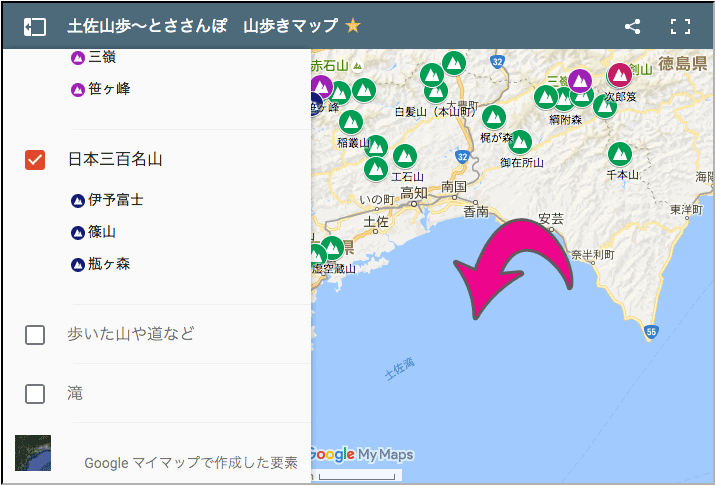
3.画面右半分をクリック
画面右半分の適当な位置(海がGOOD)をクリックして、レイヤーを非表示にします。
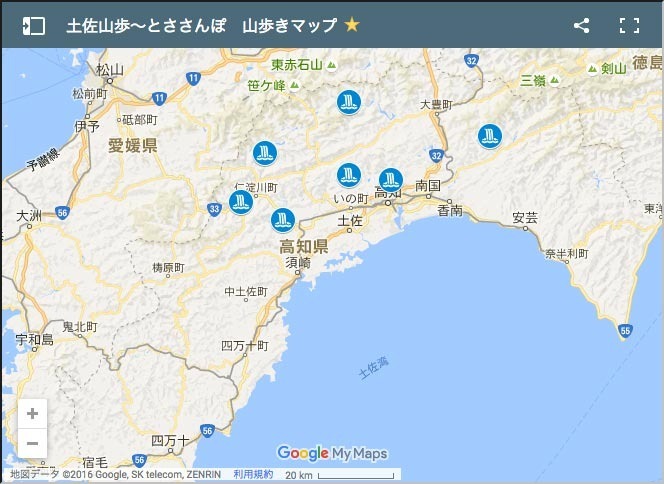
4.任意の表示
任意の分類(レイヤー)のみ表示されます。
先のチェックオフで、「滝」だけを表示させてみました。
4. 導入編 |
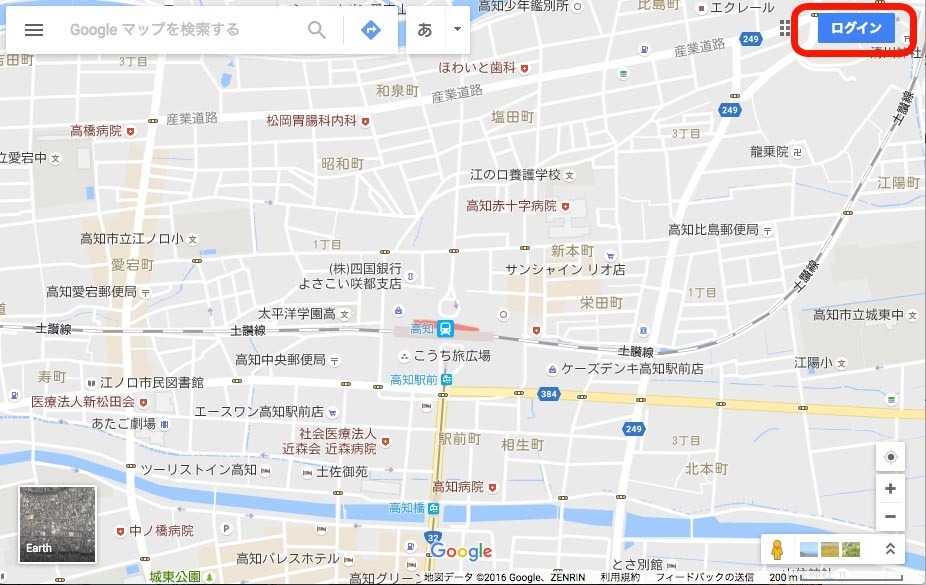
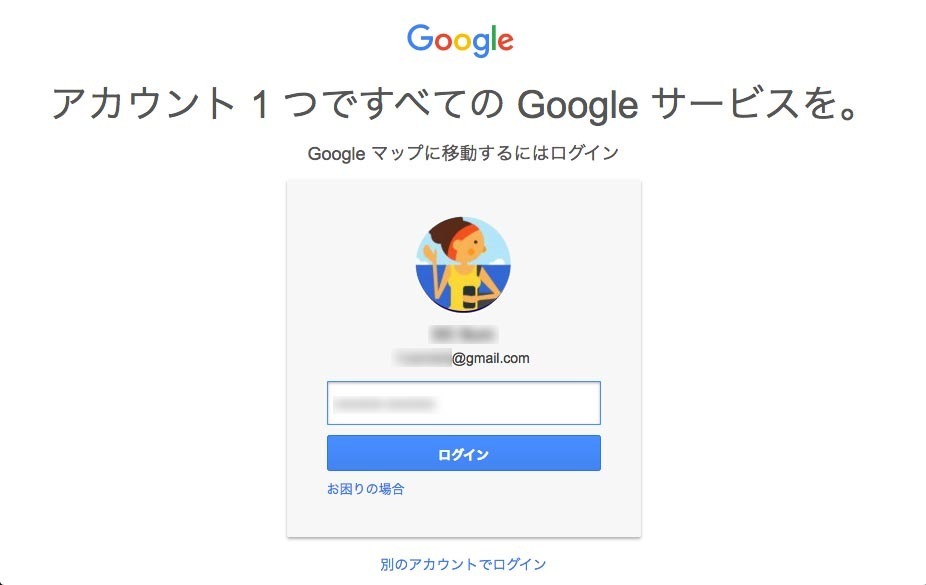
1.Googleマップにログイン
歩いた山や観光地など、自分でマップを作ってみたい!あなたのための記事です。
まずは、Googleマップにアクセス。ログインしてください。
(Googleのメールアドレスとパスワードが必要)
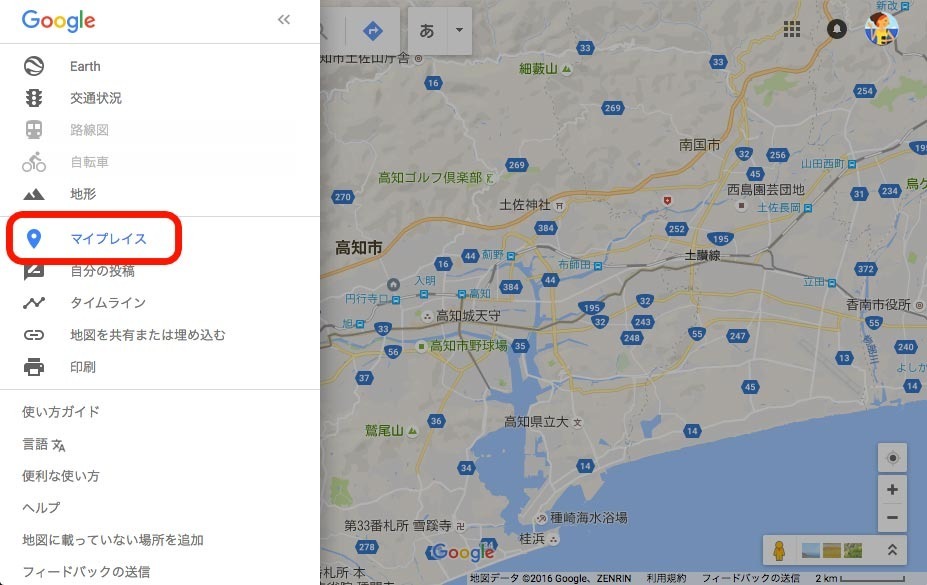
2.マイプレイス
「マイプレイス」をクリック
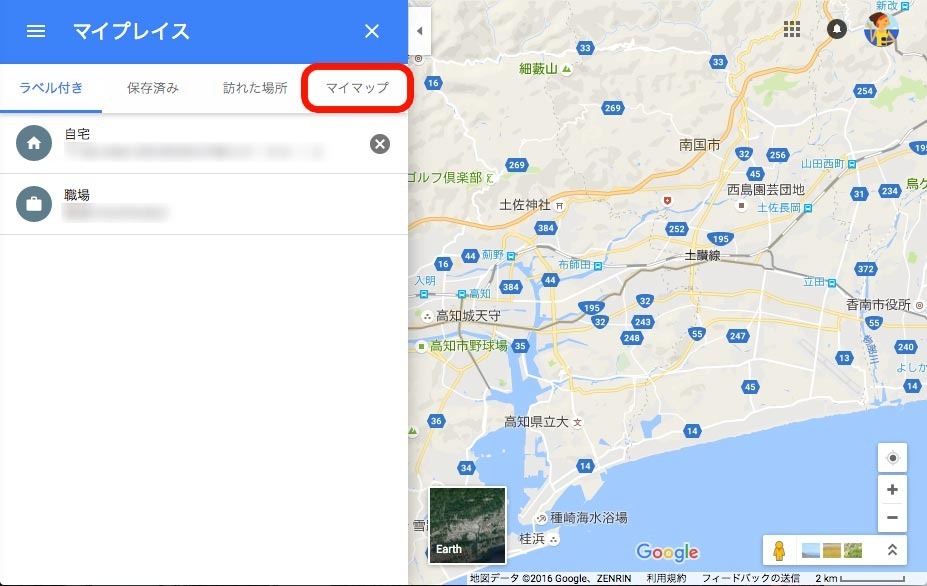
3.マイマップ
「マイマップ」をクリック
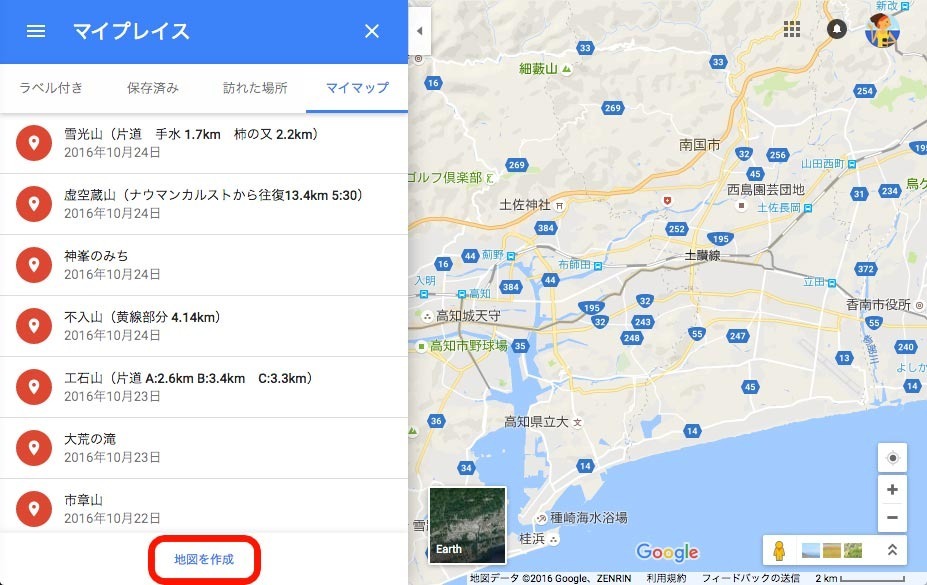
5. 作成編 |
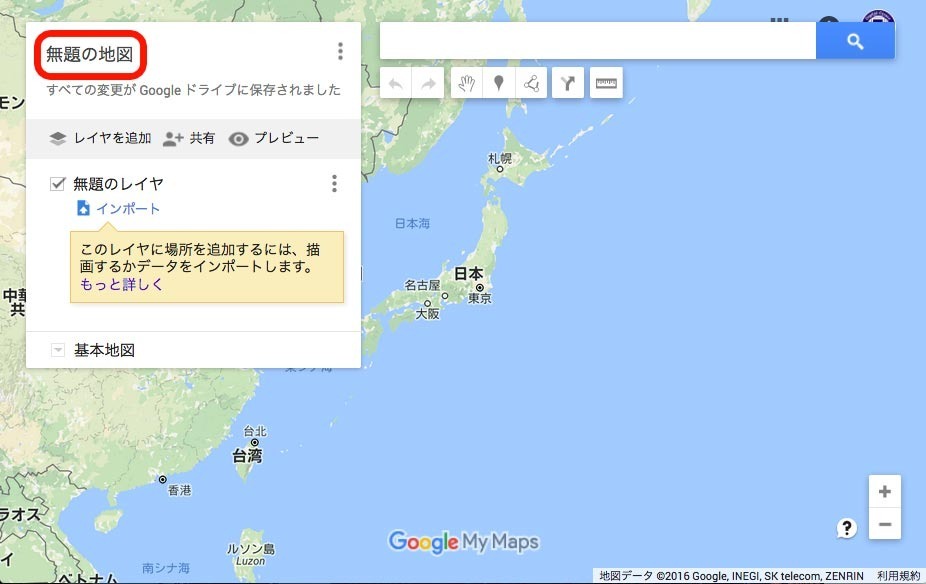
4.地図を作成
前項目からの続きとなります。「地図を作成」をクリック
5.地図のタイトル
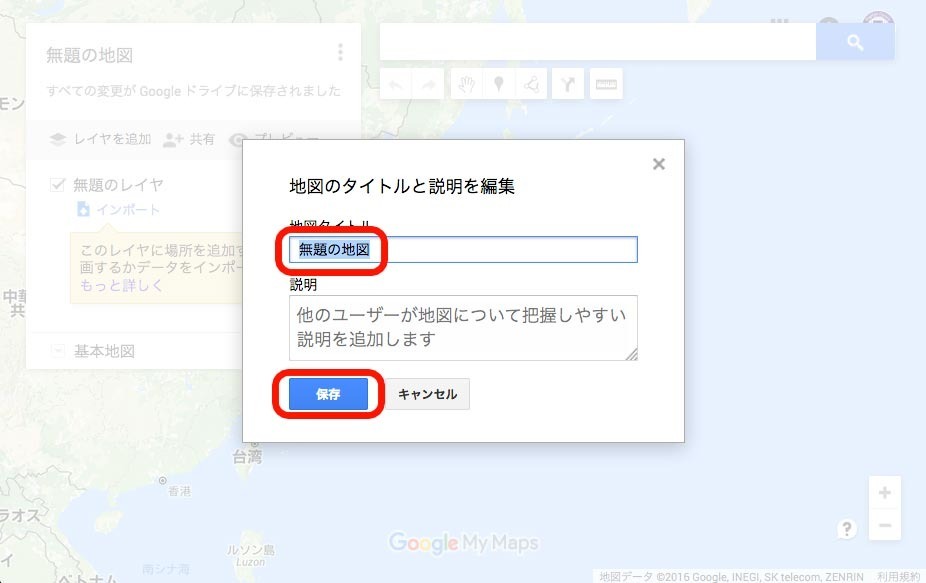
地図のタイトルを変更します。「無題の地図」をクリック。
ダイアログが表示されるので、変更します。変更したら「保存」をクリック。
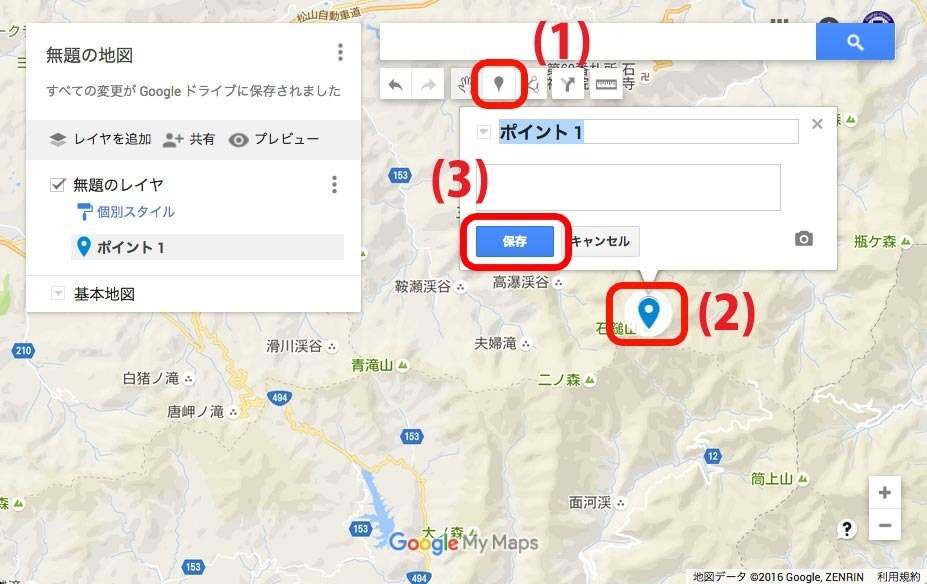
6.アイコンの設置
アイコンを変更します。(1)「マーカーを追加」をクリック。(2)地図上の任意の場所をクリック。(3)「保存」をクリック。
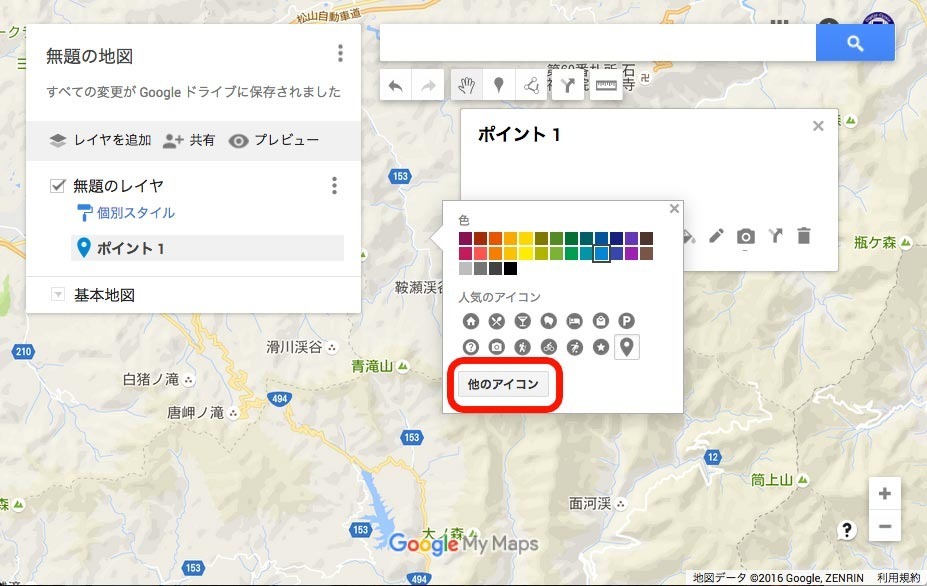
7.アイコンの変更
アイコンをクリックして、「スタイルボタン」をクリック。
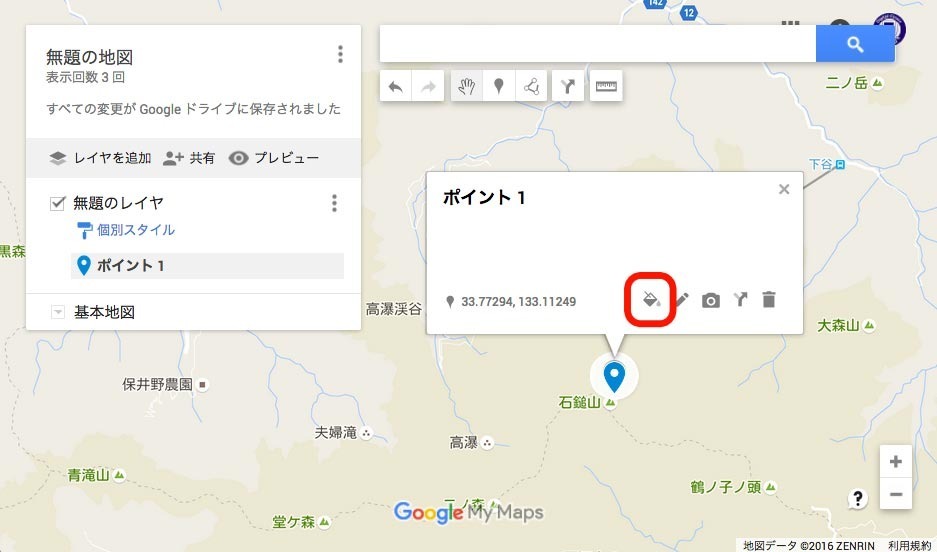
「他のアイコン」をクリック。
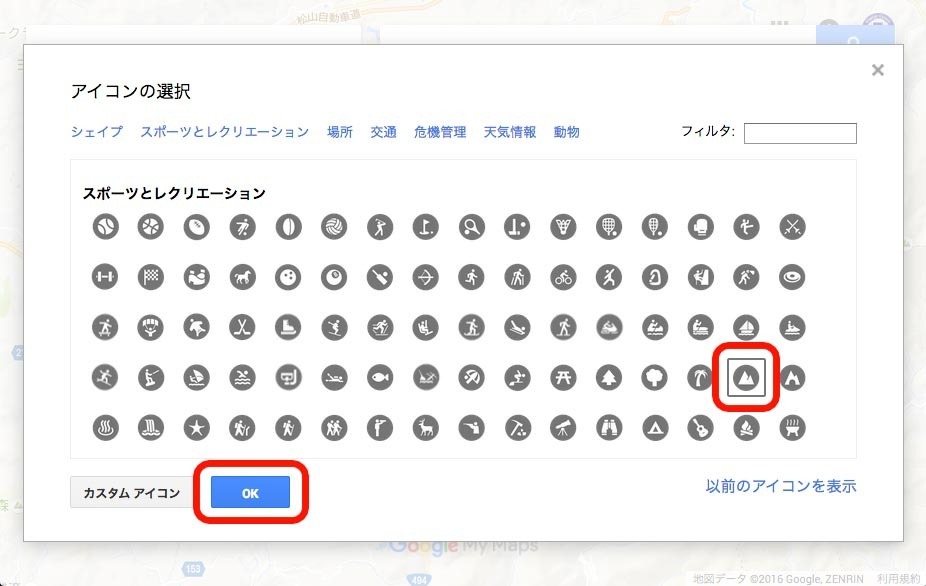
アイコンを選んで、「 OK 」をクリック。
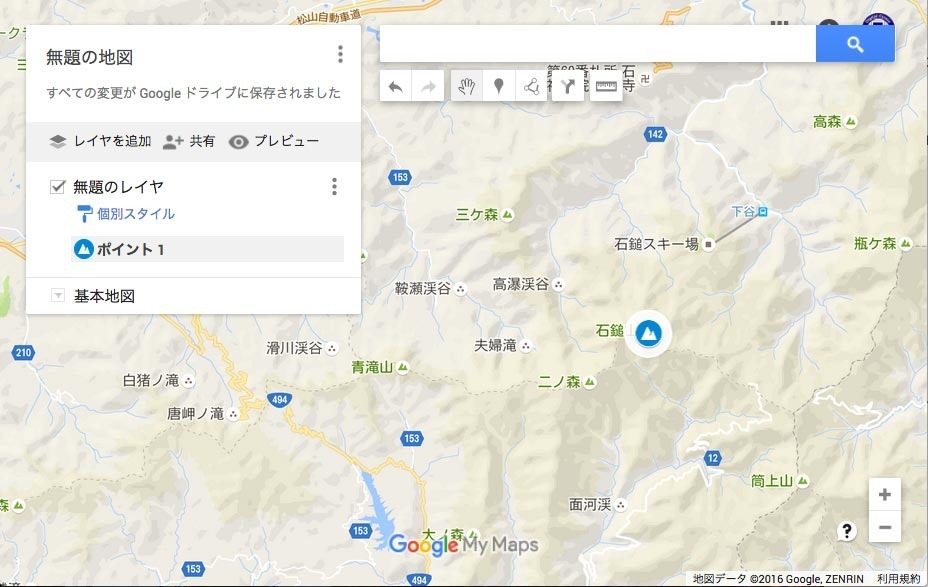
カラーパレットで色をクリックしたら、「 × 」をクリックして閉じる。
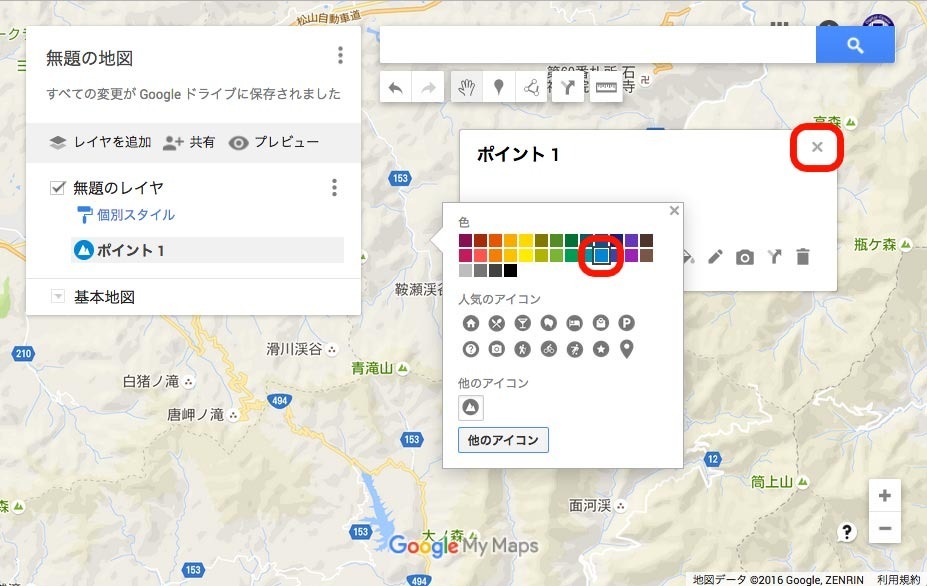
完了
8.写真の追加
「画像または動画の追加」をクリック。
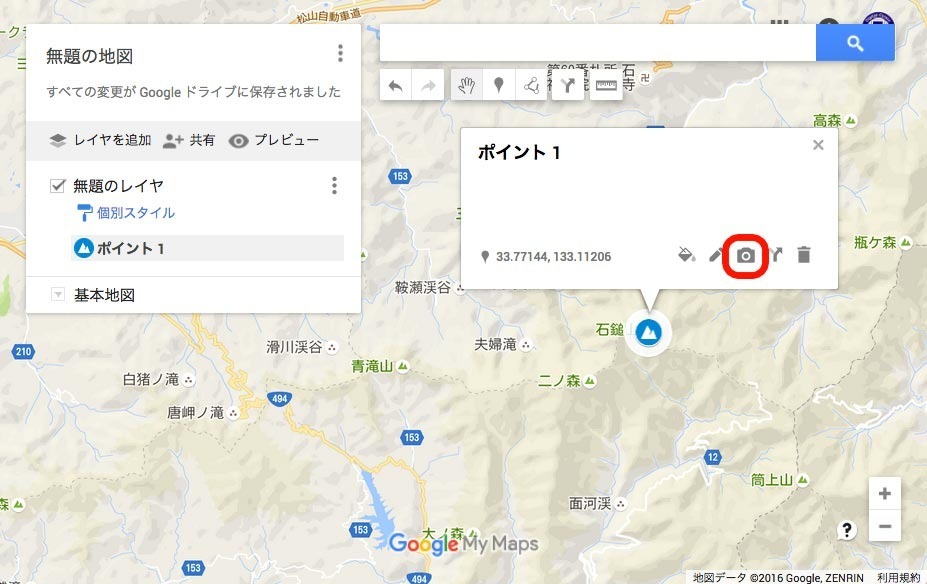
写真をドロップする。
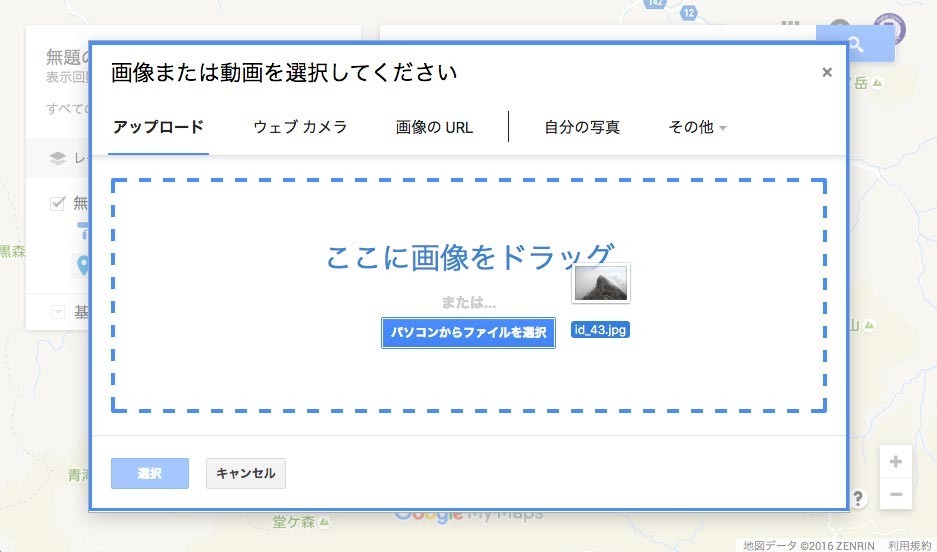
アイコンをクリックすると、写真が表示される。

6. ラベル編 |
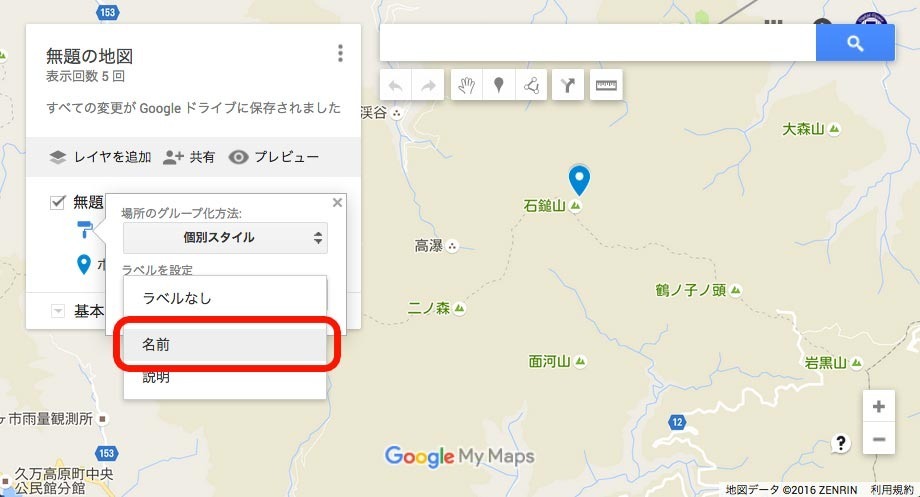
1.ラベルを表示
アイコンをクリックして、「スタイルボタン」をクリック。
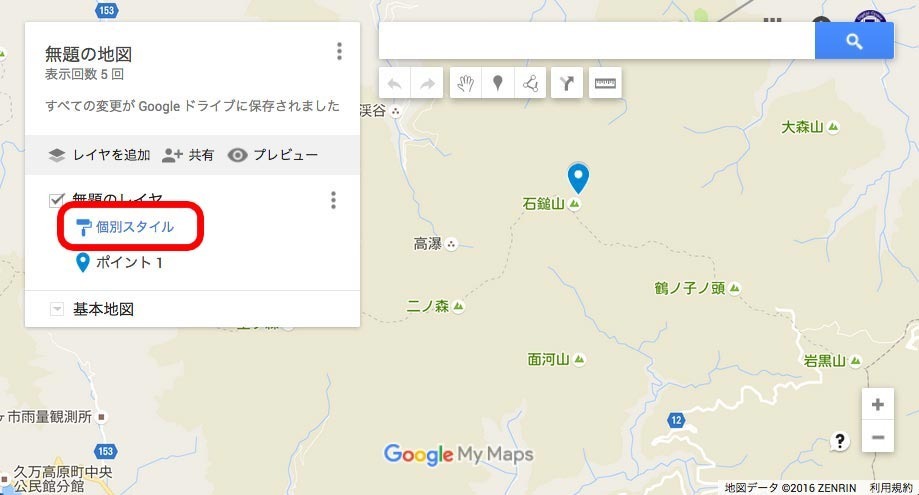
アイコンをクリックして、ラベルを設定「名前なし」をクリック。
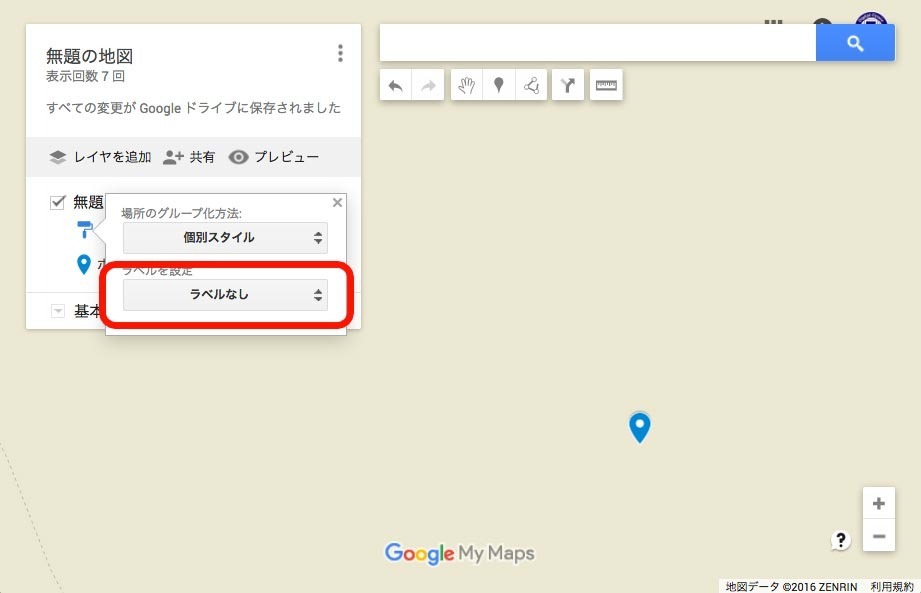
「名前」をクリック。
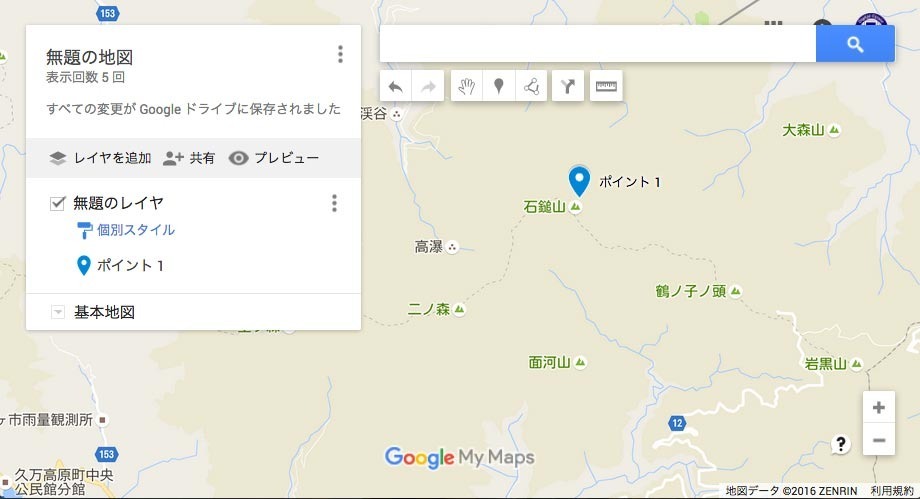
2.完了
この「山歩きマップ」は、目次の役割を担わせています。ぜひ一度遊んでみてください。
また、マイマップを作成して、あなたが歩いた山々のカタログを作成してみて下さい。
ある程度、数が増えると、楽しいものです。
【このカテゴリーの最新記事】
-
-
no image