2018年04月12日
GIT体験記 プルリクエスト
プルリクエストの手順
まず、変更対象のブランチをカレントにして、ファイルを修正する。
その後、
①git add .
②commit -m "説明コメント"
ここからソースツリーにしてPushしたが、
エラーメッセージが表示され、Pushできなかった。
仕方ないので、Git Shellに戻り、
③git push
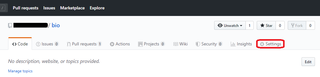
④https://github.com/にログイン
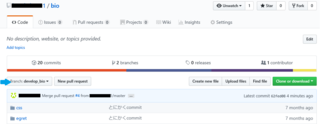
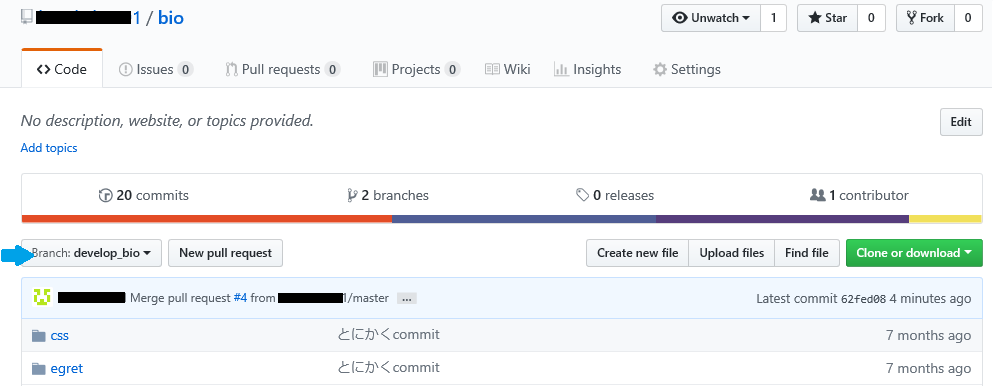
⑤相手のブランチを選び(青矢印のボタン)を選び、[New Pull Request]ボタンをクリック
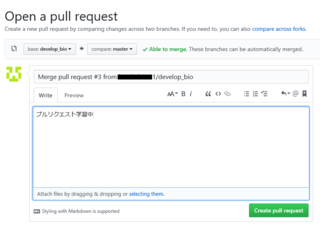
⑥コメントを書き込んで、右下の[Create Pull Request]ボタンをクリック
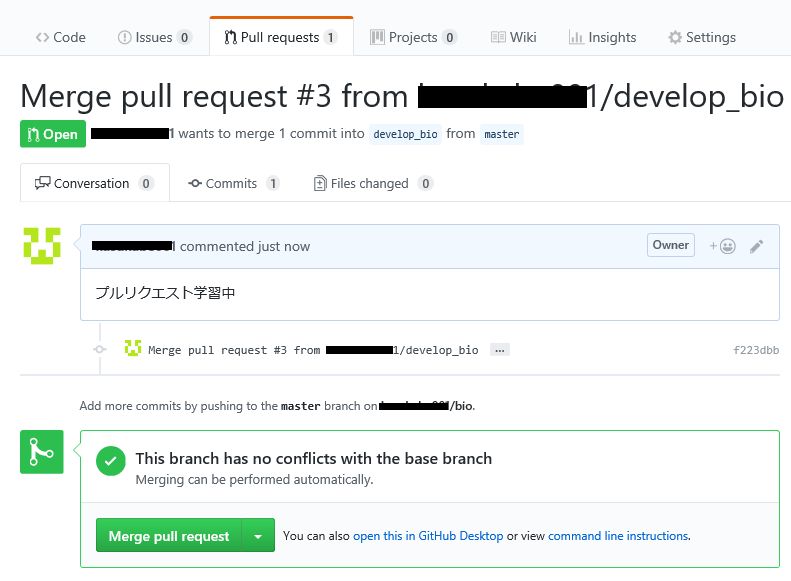
⑦ここまで来れば、プルリクエスト完了

まず、変更対象のブランチをカレントにして、ファイルを修正する。
その後、
①git add .
②commit -m "説明コメント"
ここからソースツリーにしてPushしたが、
エラーメッセージが表示され、Pushできなかった。
仕方ないので、Git Shellに戻り、
③git push
④https://github.com/にログイン
⑤相手のブランチを選び(青矢印のボタン)を選び、[New Pull Request]ボタンをクリック
⑥コメントを書き込んで、右下の[Create Pull Request]ボタンをクリック

⑦ここまで来れば、プルリクエスト完了
【このカテゴリーの最新記事】
-
no image
-
no image
-
-
no image
この記事へのコメント
コメントを書く