新規記事の投稿を行うことで、非表示にすることが可能です。
2018年07月31日
【番外編8】ARDUINO STEP SEQUENCER / ブレッドボード
ARDUINO STEP SEQUENCER
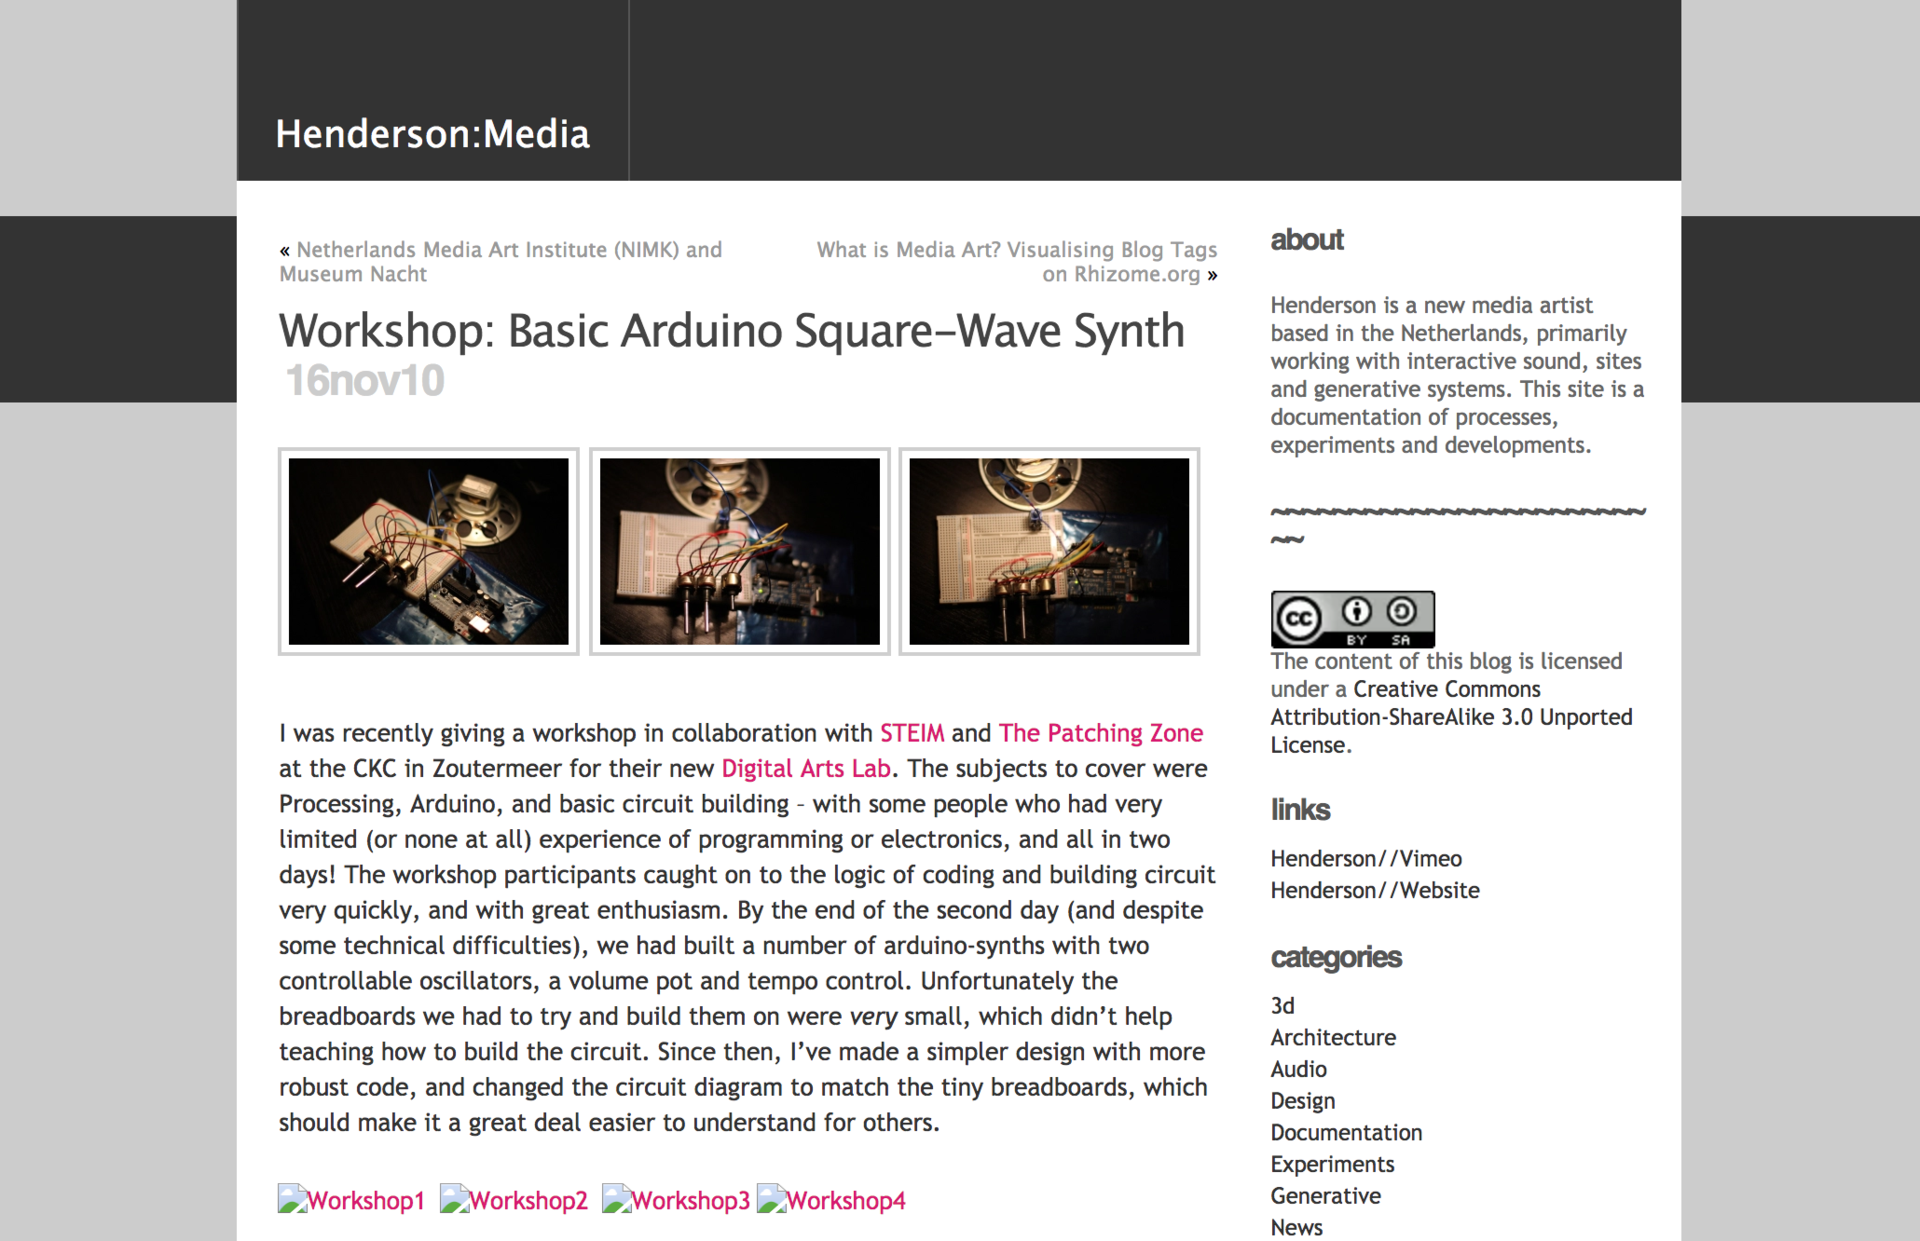
次はArduinoでステップシーケンサーを作りたいと思ってググってたら、その名も"ARDUINO STEP SEQUENCER" のサイトを見つけた
"A simple programmable 8 step tone sequencer"とのことで、tone機能を使った8ステップシーケンサーらしい
まずはこのサイト(http://www.instructables.com/id/Arduino-Step-Sequencer/) を参考にブレッドボードで組んでみます
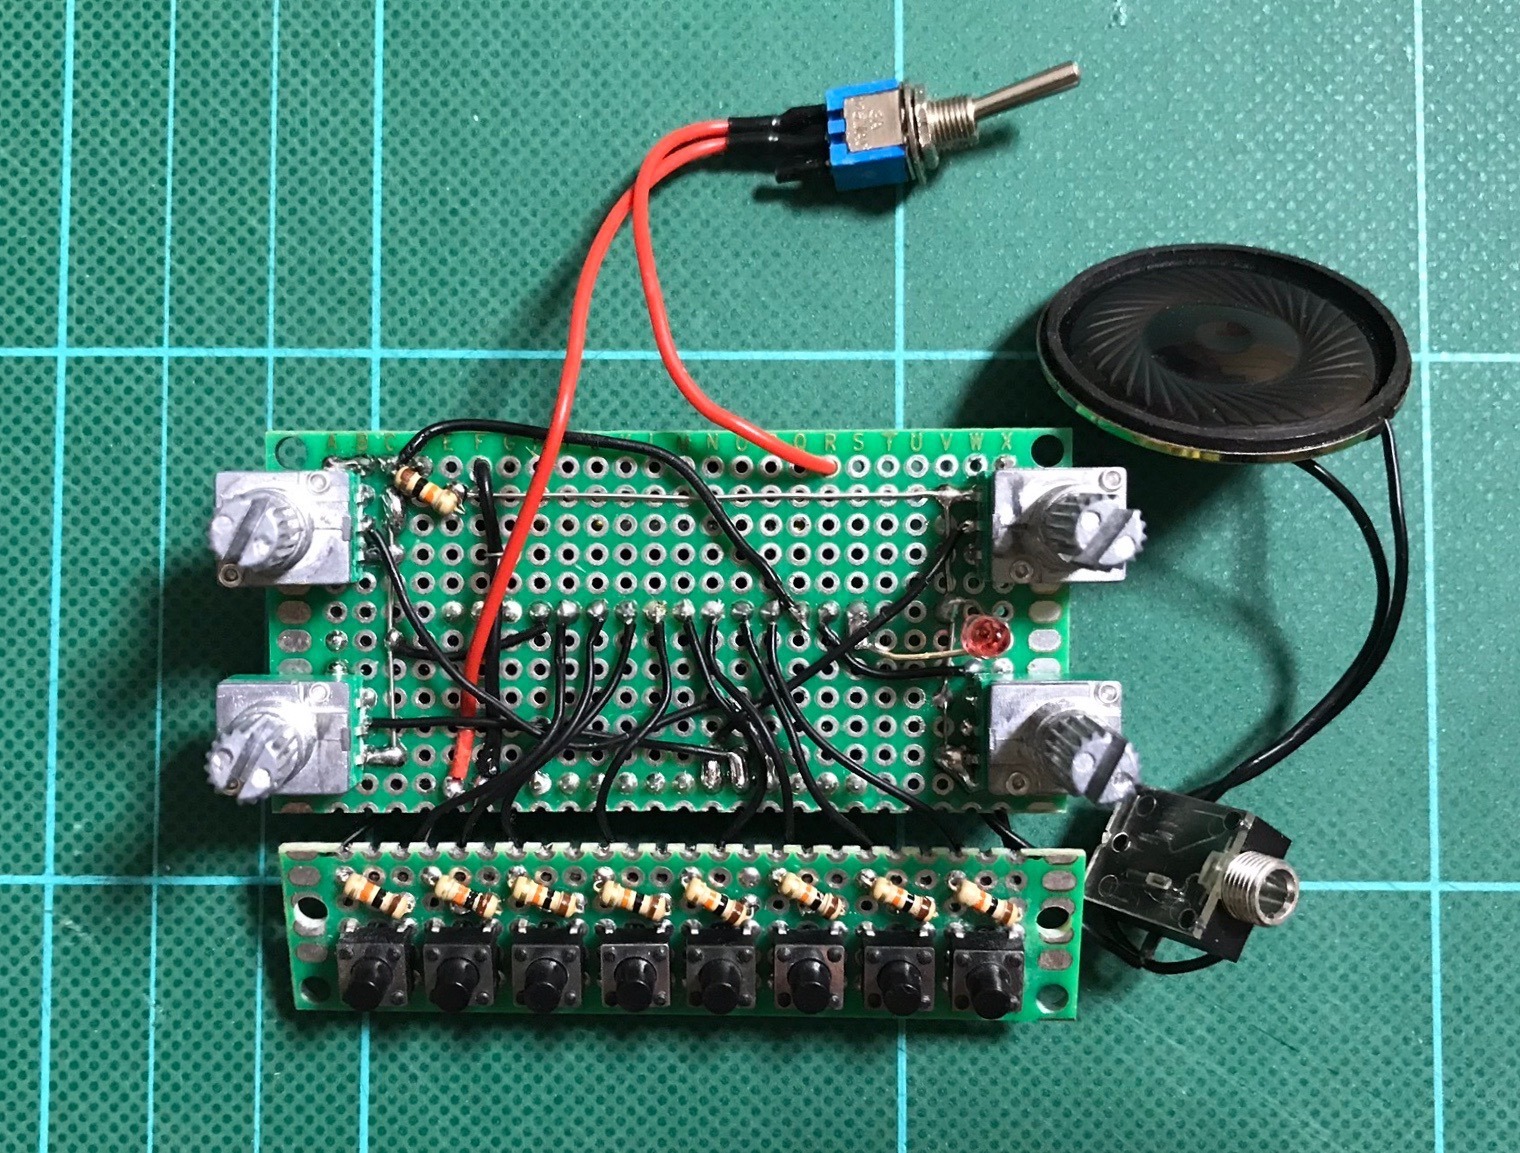
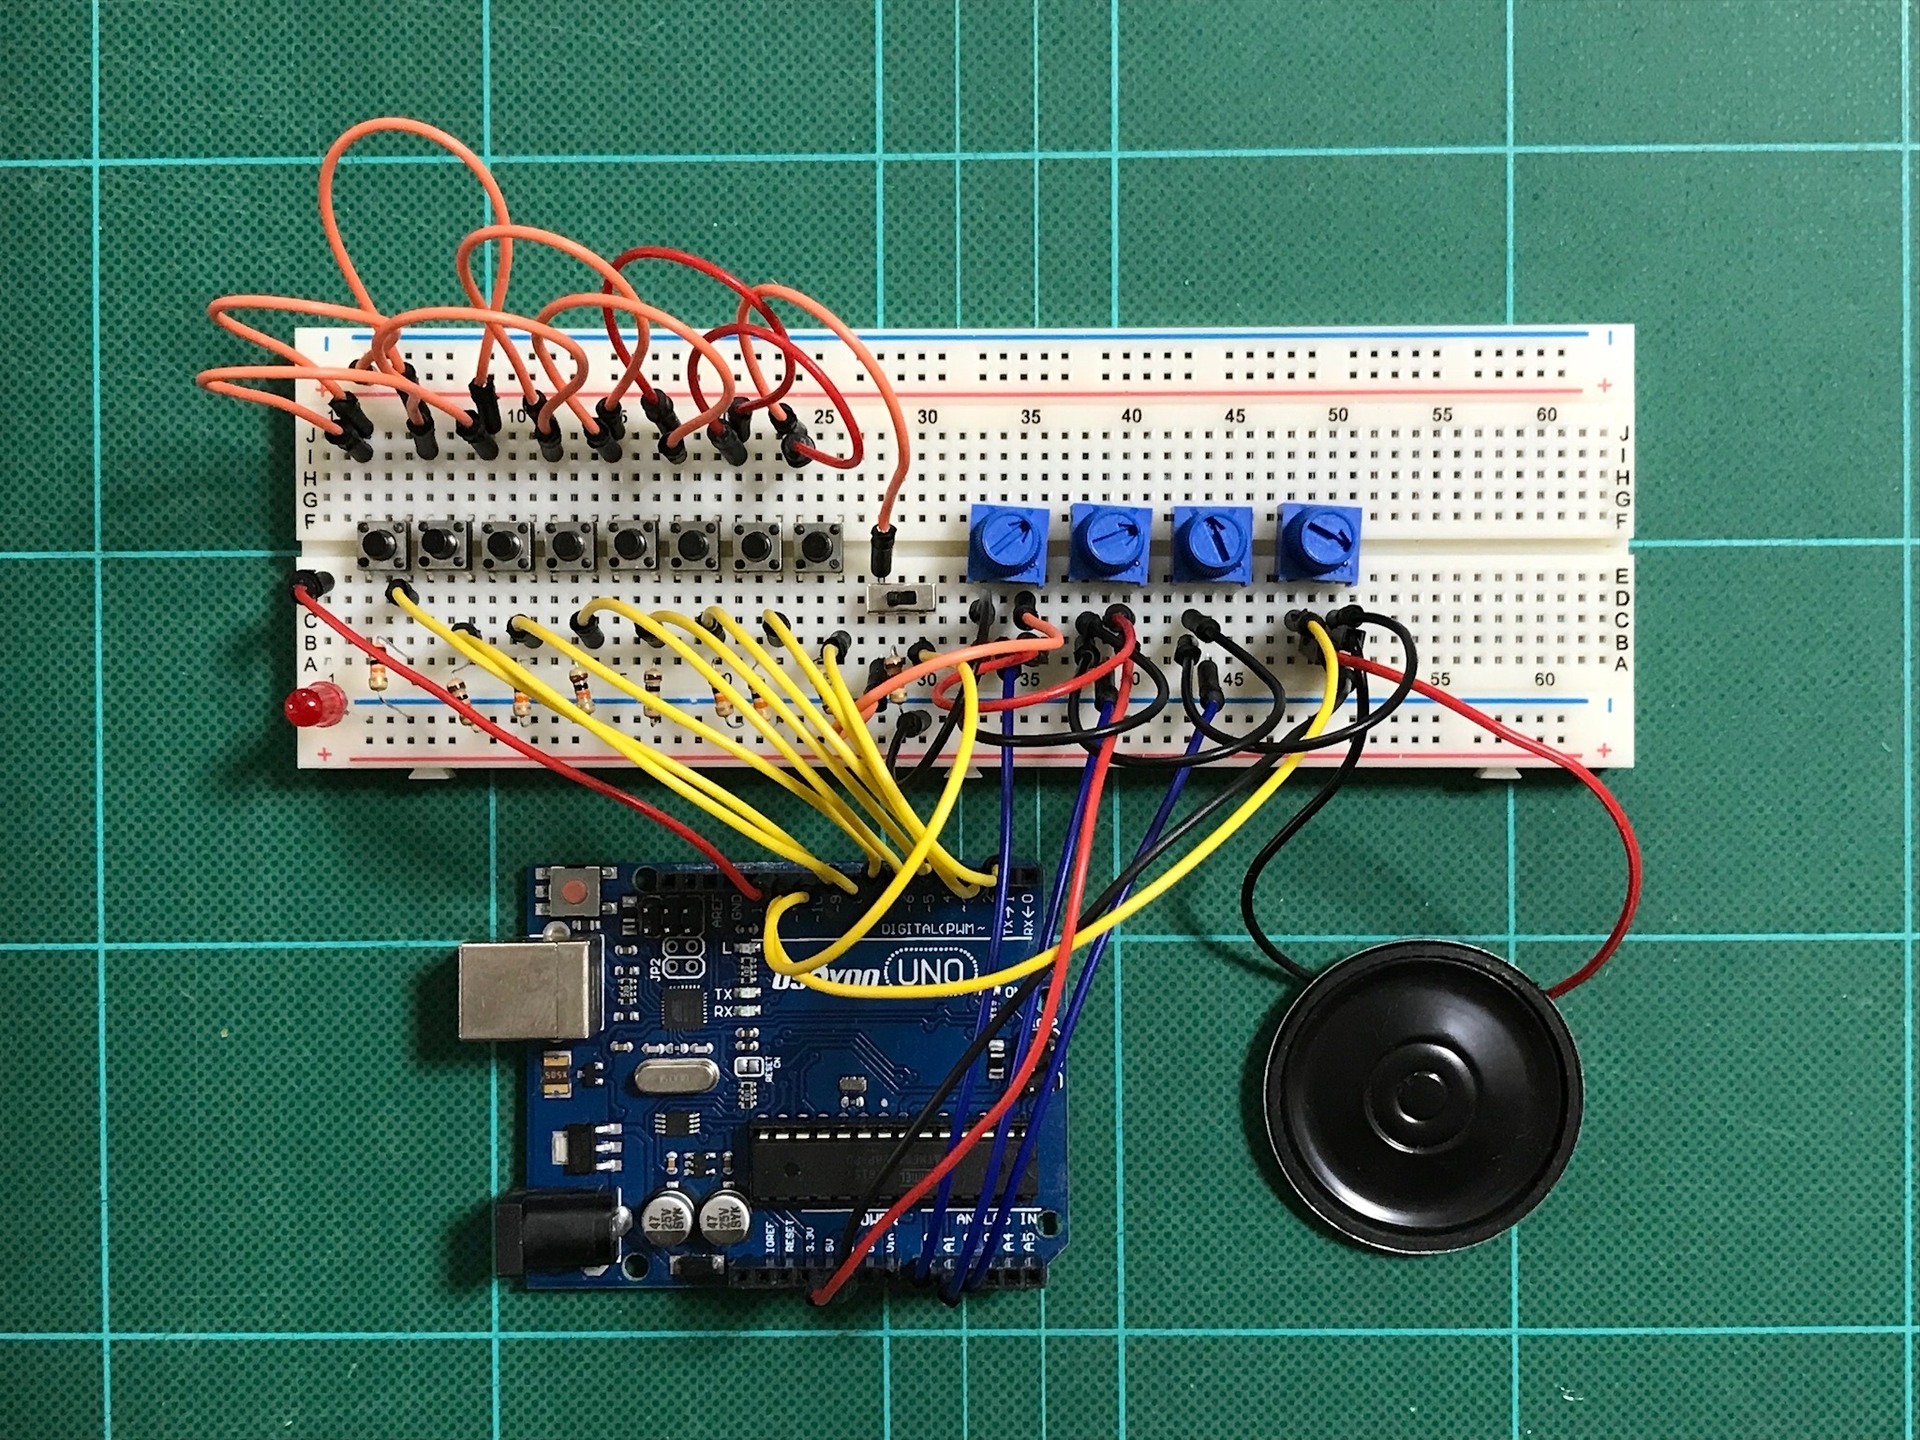
ARDUINO STEP SEQUENCER / ブレッドボード
ブレッドボードで組みやすいように少しパーツを変えて
(パーツ)
1. タクトスイッチ X8
2. スライドスイッチ X1
3. LED X1
4. 10KΩ 抵抗 X9
5. 100K トリマポテンショメーター X4
6. 8Ω 0.5W スピーカー X1
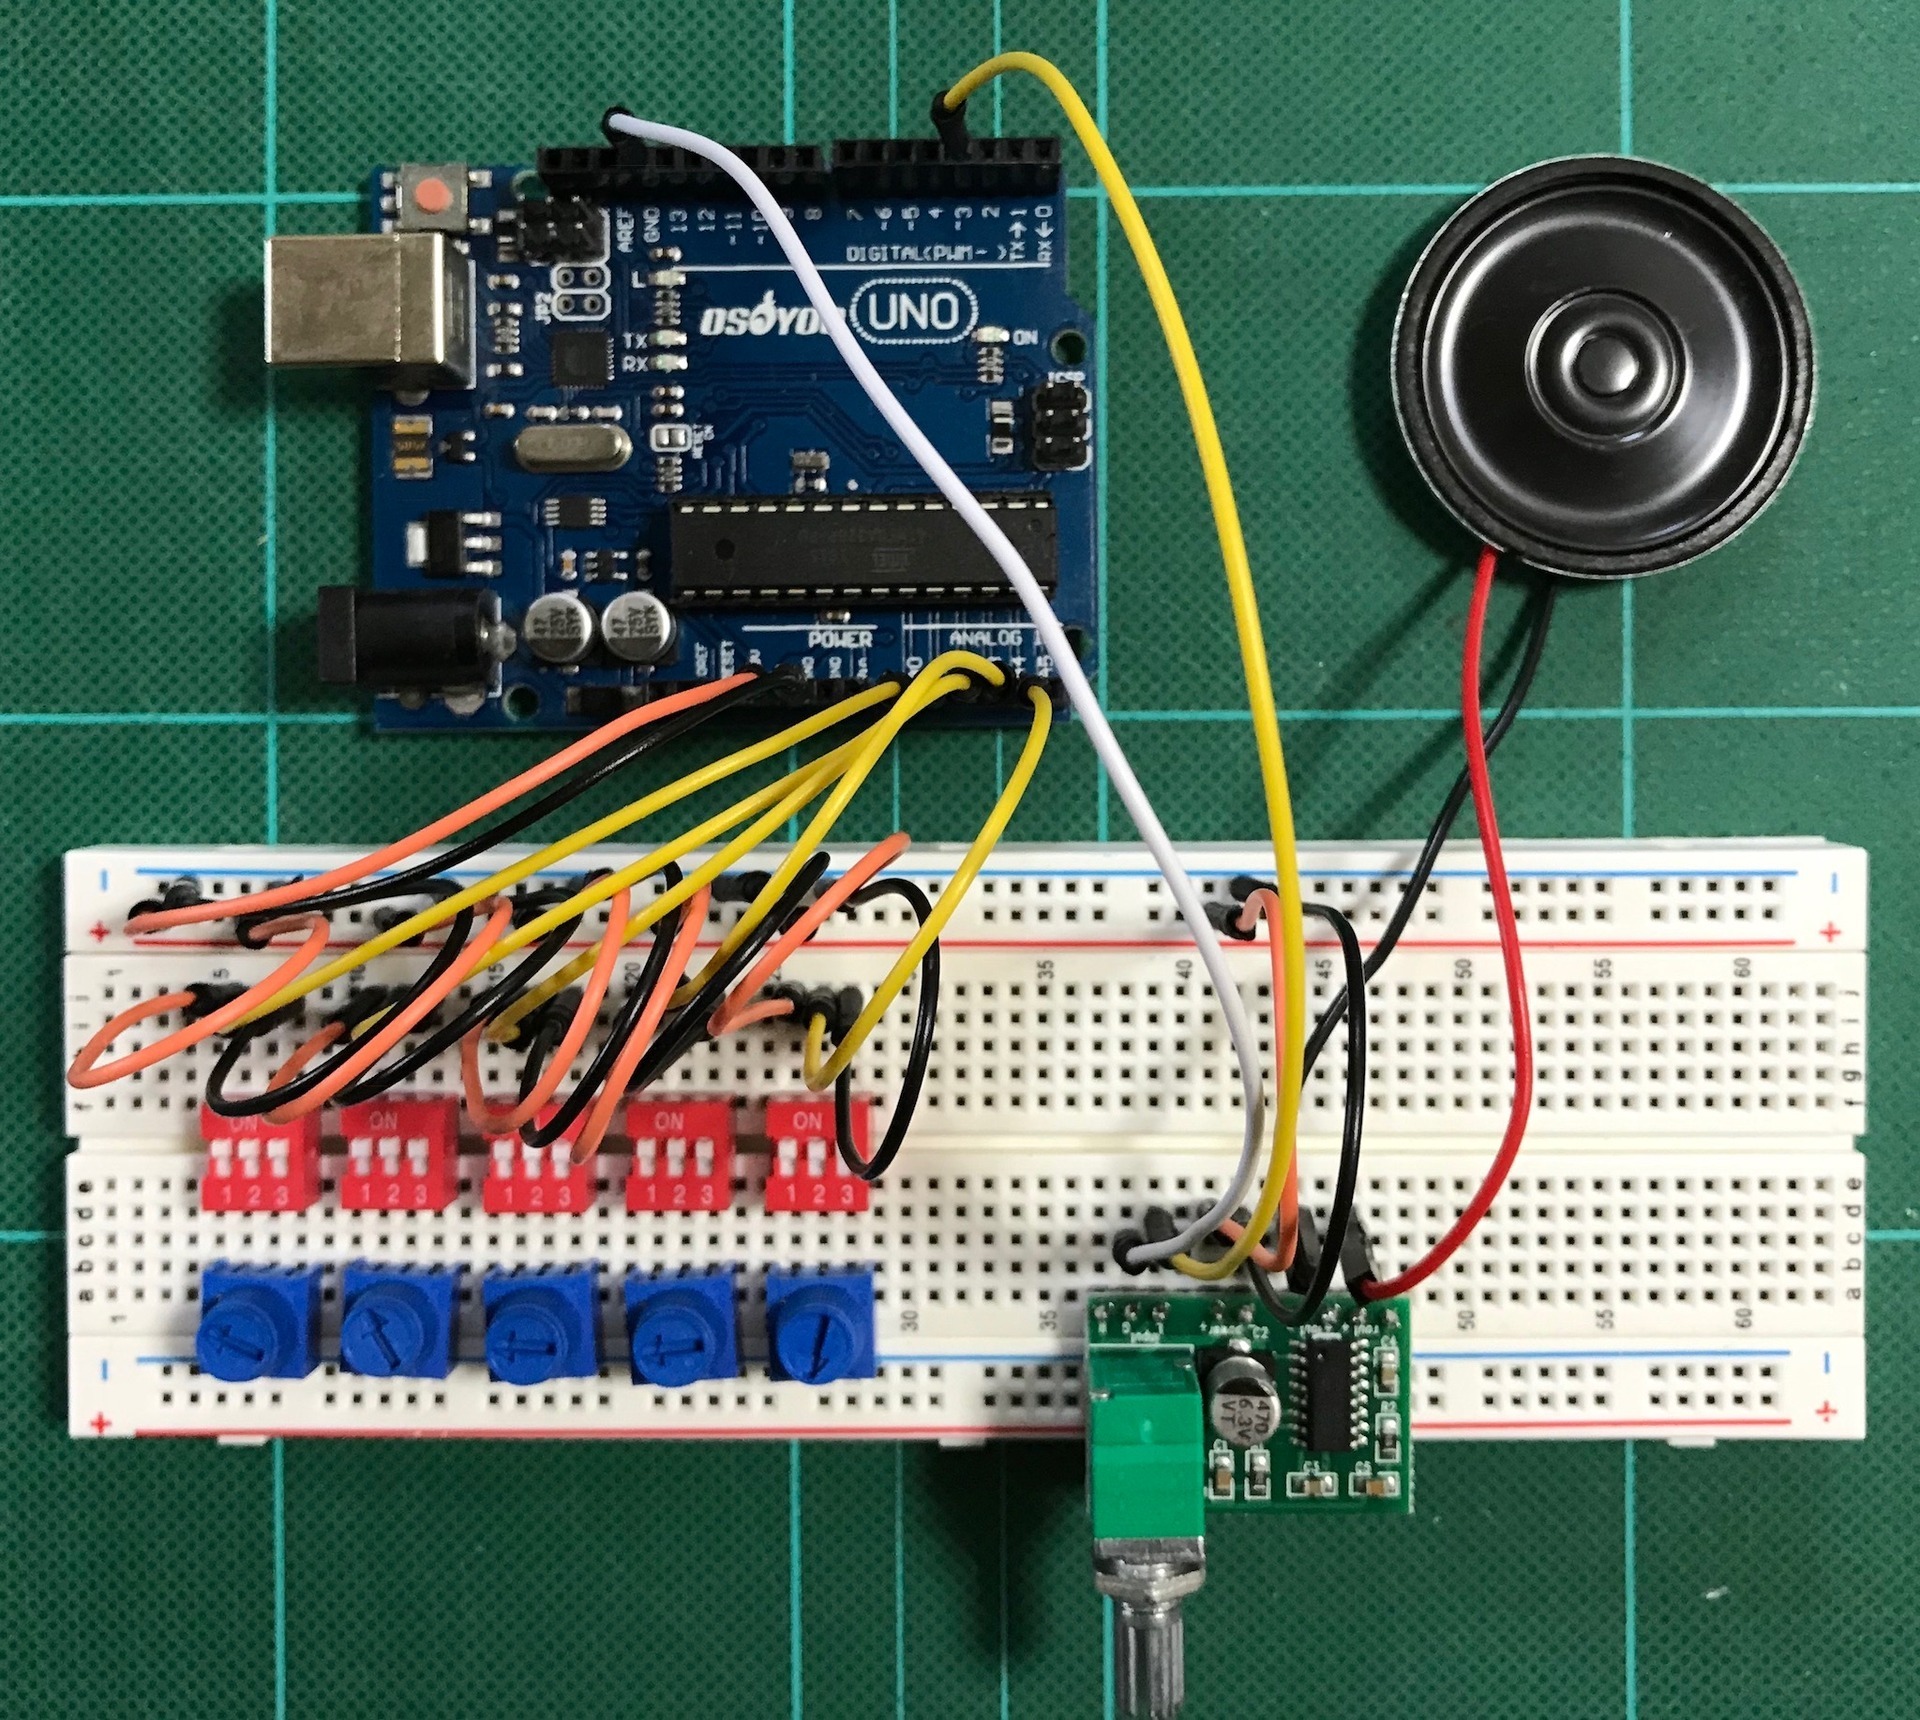
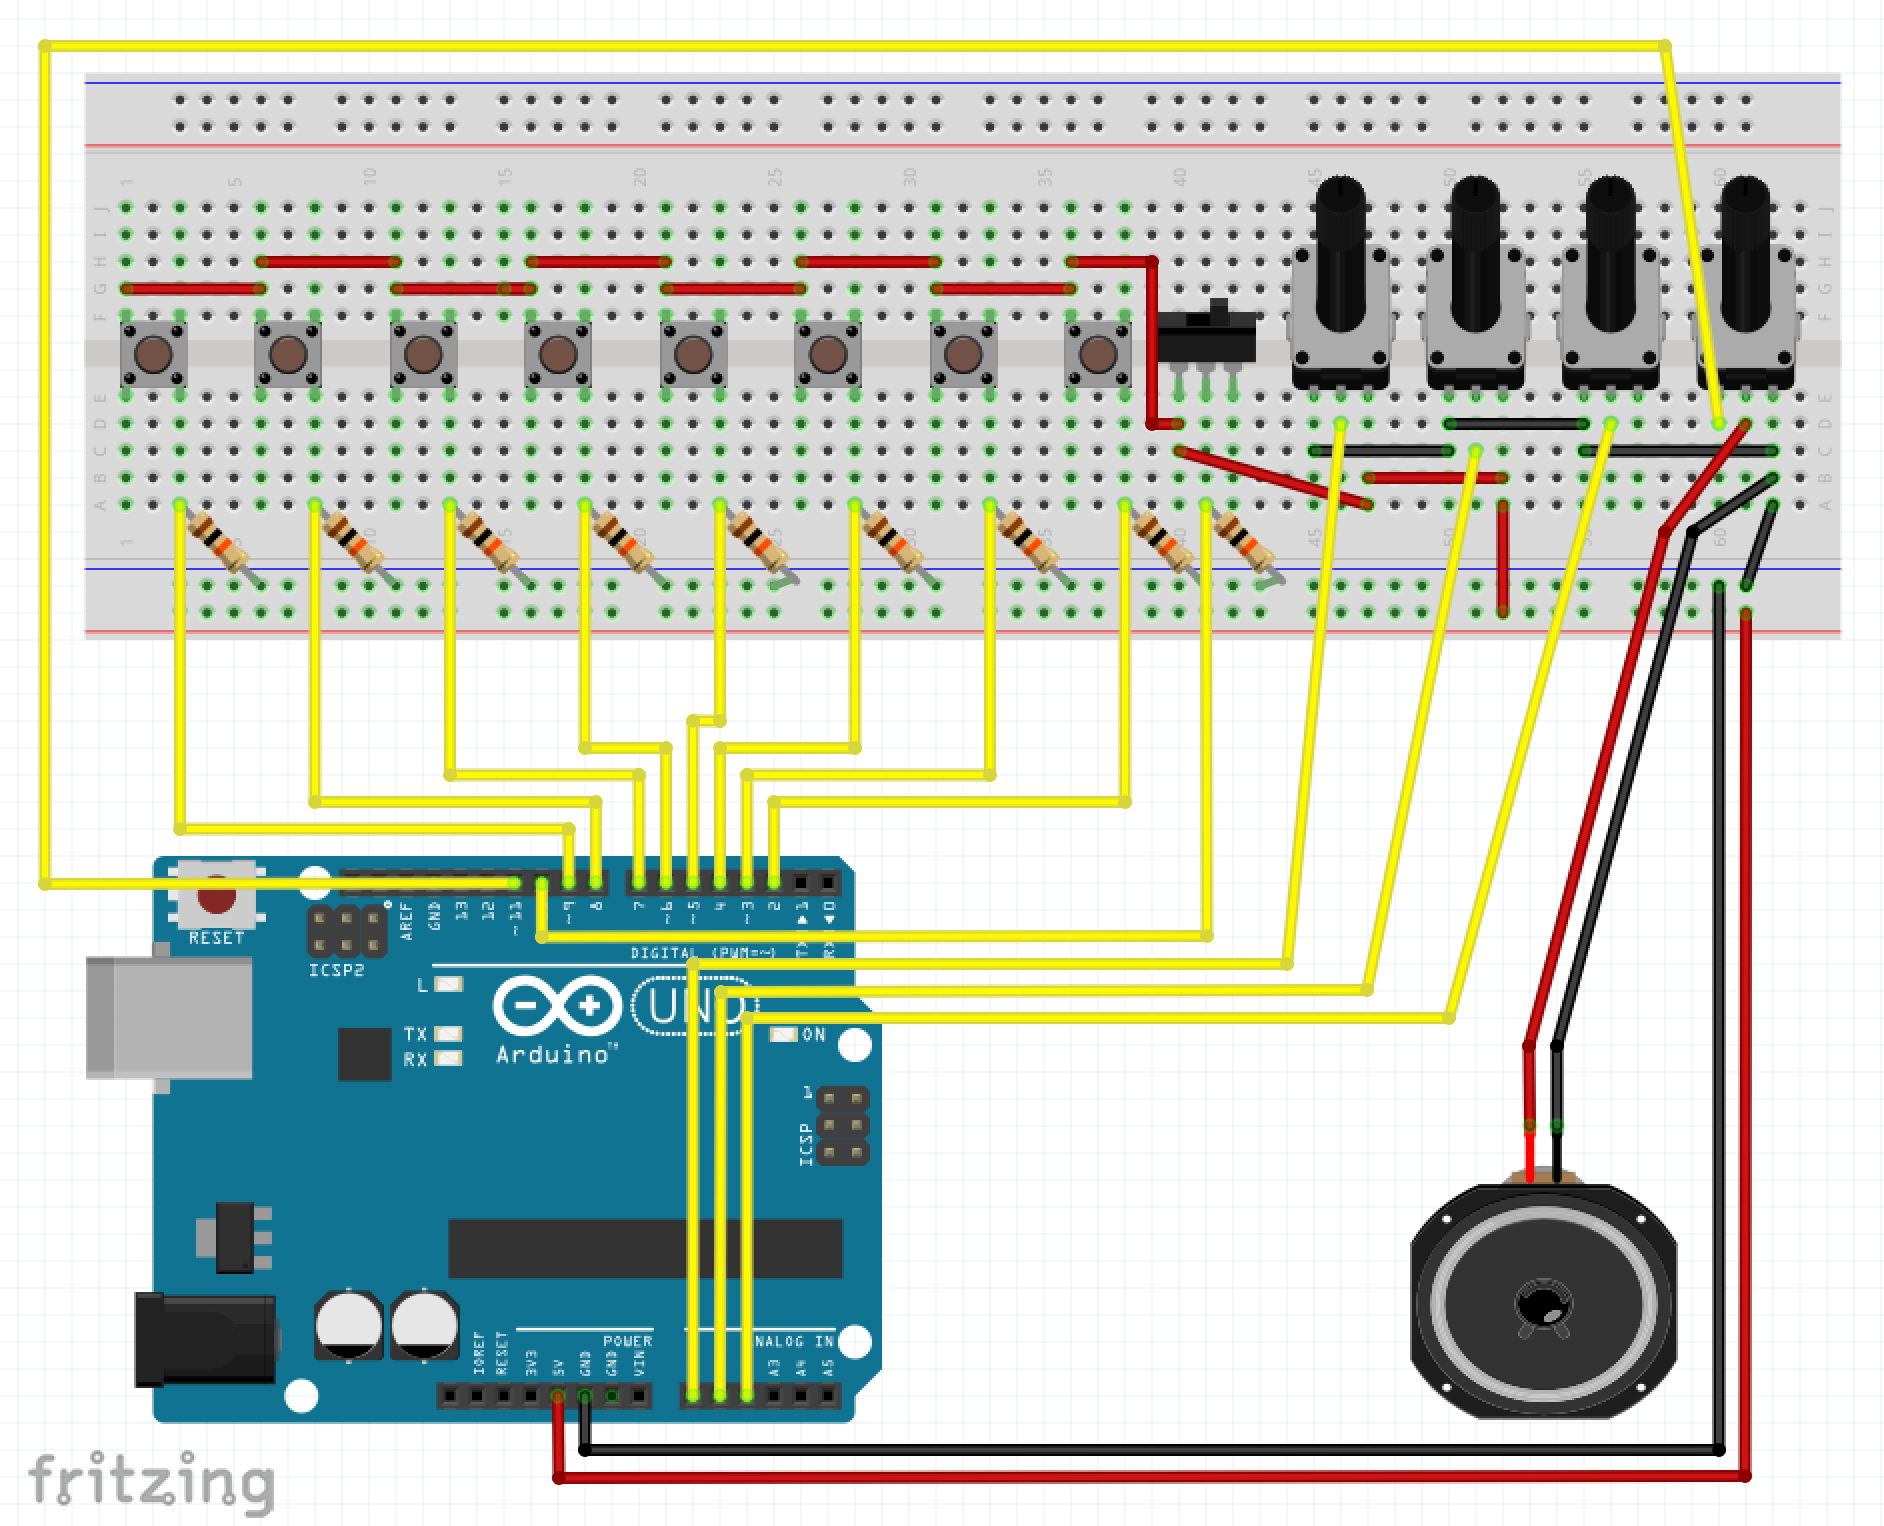
(1)配線
配線はこんな感じ
(2)スケッチ
スケッチは"ARDUINO STEP SEQUENCER"のサイト からそのままコピーして使うとエラーが出るので次の2箇所を書き換えて使う
(修正前)
Serial.print (254, BYTE);
Serial.print (192, BYTE);
(修正後)
Serial.print (254);
Serial.print (192);
で、修正したのがこれ↓
Arduino Step Sequencer
――――――――――(Arduino Step Sequencer)――――――――――
/* ======================================================================
Arduino Punk Console
A simple programmable 8 step tone sequencer
by dano/beavisaudio.com
Revs
-----------------------------------
15 Sept djh initial version
======================================================================*/
// Map all the input and output pins
#define AnalogInFrequency 1
#define AnalogInTempo 2
#define AnalogInDuration 0
#define DigitalOutSignal 11
#define DigitalInSwitch0 2
#define DigitalInSwitch1 3
#define DigitalInSwitch2 4
#define DigitalInSwitch3 5
#define DigitalInSwitch4 6
#define DigitalInSwitch5 7
#define DigitalInSwitch6 8
#define DigitalInSwitch7 9
#define DigitalInStartStop 10
#define DigitalOutLED 12
// Set up the array for each step
int steps[] = {100,120,140,160,180,200,220,240};
// misc housekeeping
int duration = 50;
int pitchval = 1;
int fPlayMode = true;
int lastPushedStep = -1;
// Initialize the tempo
int tempo = 100;
void setup()
{
// setup pin modes (Digital pins are input by default, but
// I like to set 'em explicitly just so the code is clear.
pinMode (DigitalInSwitch0, INPUT);
pinMode (DigitalInSwitch1, INPUT);
pinMode (DigitalInSwitch2, INPUT);
pinMode (DigitalInSwitch3, INPUT);
pinMode (DigitalInSwitch4, INPUT);
pinMode (DigitalInSwitch5, INPUT);
pinMode (DigitalInSwitch6, INPUT);
pinMode (DigitalInSwitch7, INPUT);
pinMode (DigitalInStartStop, INPUT);
pinMode (DigitalOutSignal, OUTPUT);
pinMode (DigitalOutLED, OUTPUT);
}
void loop()
{
// Main sequence loop
for (int i=0; i<8; i++)
{
// Are we playing or stopping?
fPlayMode = digitalRead (DigitalInStartStop);
digitalWrite (DigitalOutLED, HIGH);
// Check the Hardware
readSwitches();
readPots();
// update the display
updateDisplay();
// Make the noise
if (fPlayMode)
{
freqout (steps[i], duration);
}
digitalWrite (DigitalOutLED, LOW);
// Pause between steps
delay (tempo);
}
}
void updateDisplay()
{
Serial.print (254);
Serial.print (192);
Serial.print ("T:");
Serial.print (tempo);
Serial.print (" d:");
Serial.print (duration);
if (lastPushedStep != -1)
{
Serial.print ("*");
Serial.print (lastPushedStep);
}
}
// Read the current values of the pots, called from the loop.
void readPots ()
{
tempo = (analogRead (AnalogInTempo) * 1.9);
duration = (analogRead (AnalogInDuration));
}
// Read the current values of the switches and
// if pressed, replace the switch's slot frequency
// by reading the frequency pot.
void readSwitches()
{
// reset last pushed button number
lastPushedStep = -1;
// check switch 0, if pressed, get the current freq into step 0, etc. etc.
if (digitalRead (DigitalInSwitch0) == HIGH)
{
steps[0] = analogRead(AnalogInFrequency);
lastPushedStep = 1;
}
else if (digitalRead (DigitalInSwitch1) == HIGH)
{
steps[1] = analogRead(AnalogInFrequency);
lastPushedStep = 2;
}
else if (digitalRead (DigitalInSwitch2) == HIGH)
{
steps[2] = analogRead(AnalogInFrequency);
lastPushedStep = 3;
}
else if (digitalRead (DigitalInSwitch3) == HIGH)
{
steps[3] = analogRead(AnalogInFrequency);
lastPushedStep = 4;
}
else if (digitalRead (DigitalInSwitch4) == HIGH)
{
steps[4] = analogRead(AnalogInFrequency);
lastPushedStep = 5;
}
else if (digitalRead (DigitalInSwitch5) == HIGH)
{
steps[5] = analogRead(AnalogInFrequency);
lastPushedStep = 6;
}
else if (digitalRead (DigitalInSwitch6) == HIGH)
{
steps[6] = analogRead(AnalogInFrequency);
lastPushedStep = 7;
}
else if (digitalRead (DigitalInSwitch7) == HIGH)
{
steps[7] = analogRead(AnalogInFrequency);
lastPushedStep = 8;
}
}
//freqout code by Paul Badger
// freq - frequency value
// t - time duration of tone
void freqout(int freq, int t)
{
int hperiod; //calculate 1/2 period in us
long cycles, i;
// subtract 7 us to make up for digitalWrite overhead - determined empirically
hperiod = (500000 / ((freq - 7) * pitchval));
// calculate cycles
cycles = ((long)freq * (long)t) / 1000; // calculate cycles
for (i=0; i<= cycles; i++)
{ // play note for t ms
digitalWrite(DigitalOutSignal, HIGH);
delayMicroseconds(hperiod);
digitalWrite(DigitalOutSignal, LOW);
delayMicroseconds(hperiod - 1); // - 1 to make up for fractional microsecond in digitaWrite overhead
}
}
―――――――――――――――――――――――――――
(3)実行
さあ、どうでしょう
操作がグダグダ・・・
音がちょっと単調ですが、ステップシーケンサーっぽくなってます
シンセとはまた違った面白さですが・・・思ったように操作できません・・・orz
あと、なんか変だなと思ってたんですが、LED表示が無いのでどのボタンの音がなっているのかわかりにくい
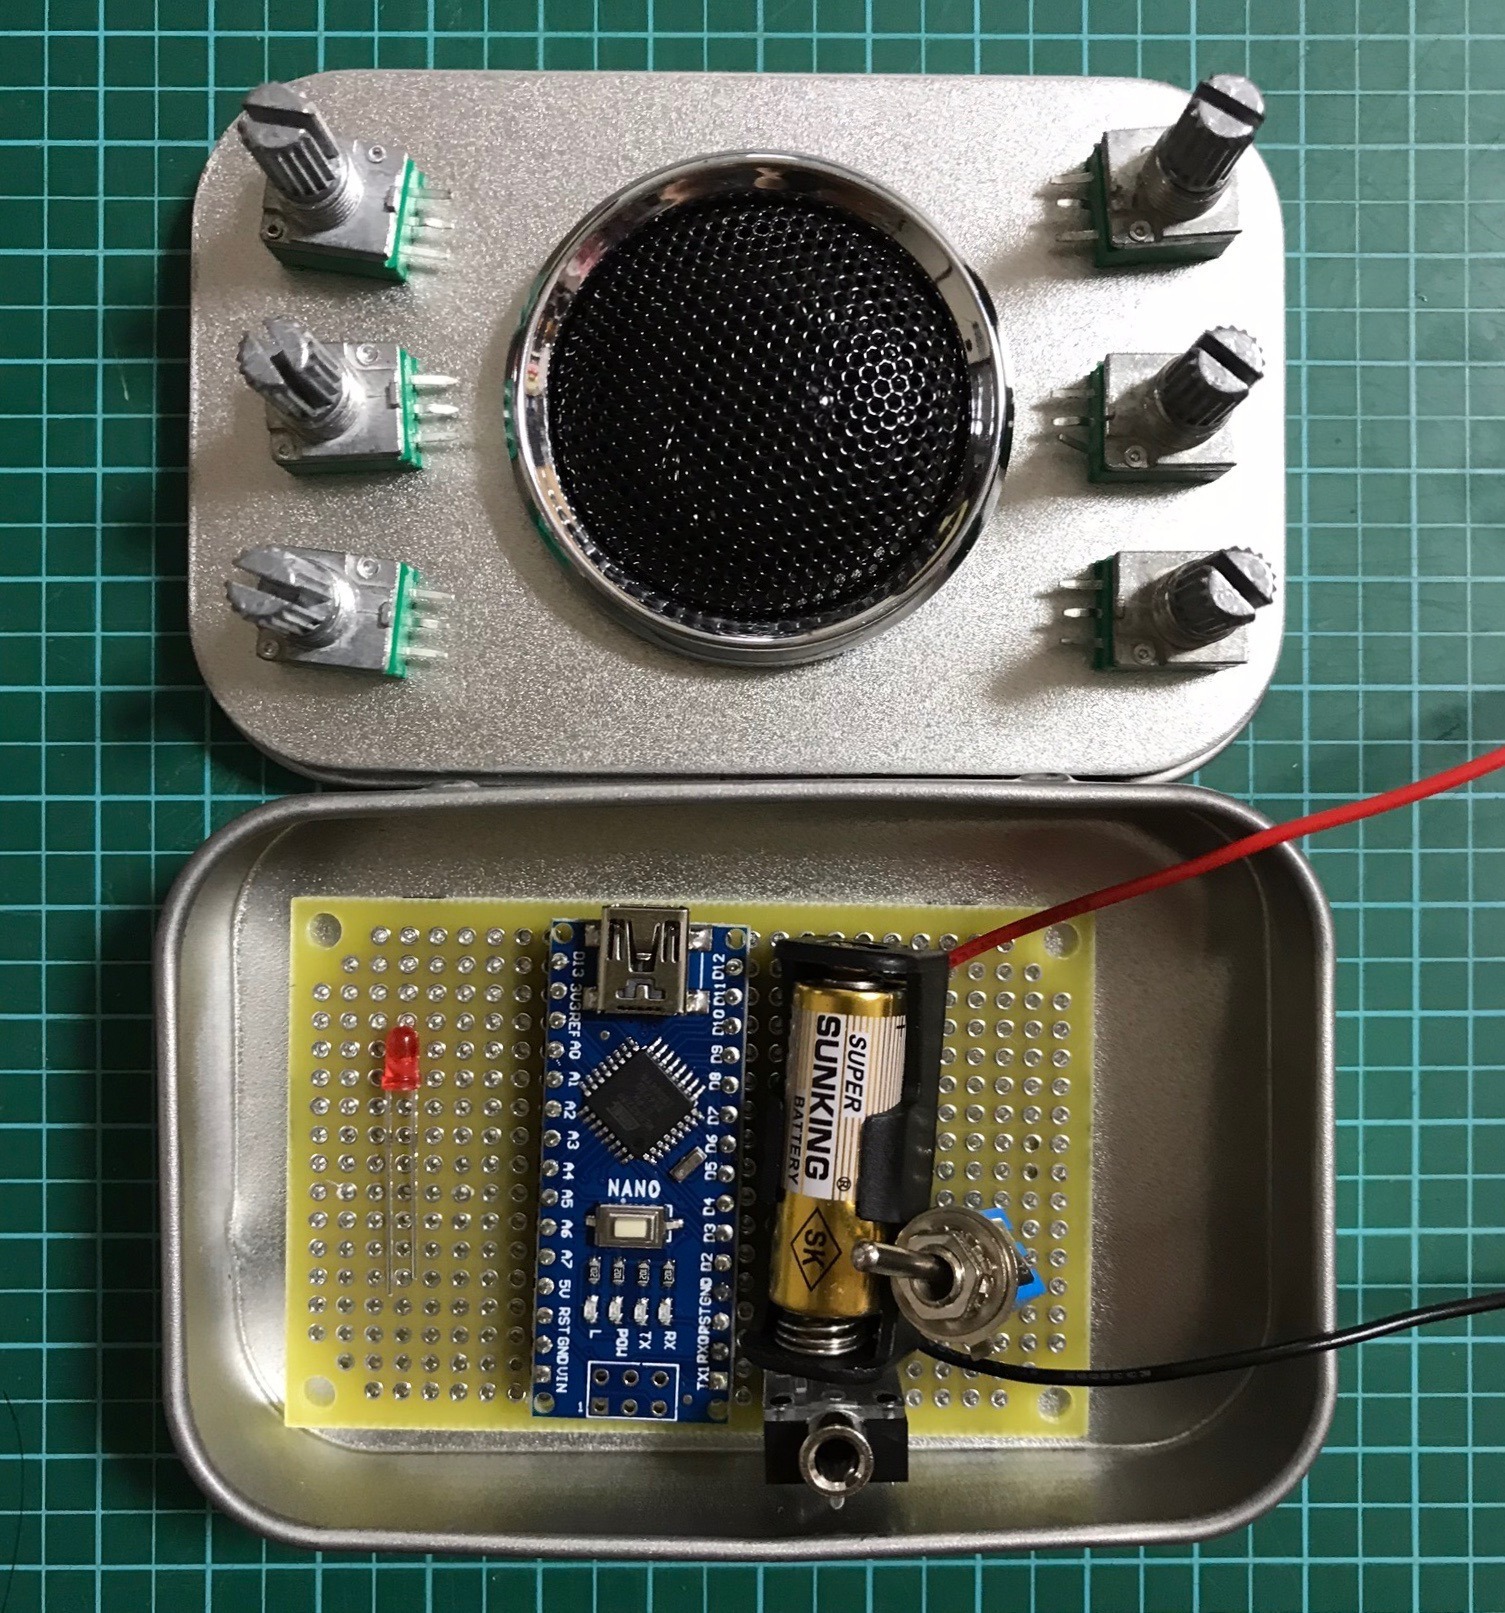
次回はこれを筐体に入れてみます
ではまた〜
 | 新品価格 |
 | Raspberry Pi3 Model B ボード&ケースセット (Element14版, Clear)-Physical Computing Lab 新品価格 |
 | Arduinoをはじめよう 第3版 (Make:PROJECTS) 新品価格 |
 | Arduinoをはじめよう 互換キット UNO R3対応互換ボード 初心者専用実験キット 基本部品セット20 in 1 Arduino sidekick basic kit 新品価格 |
 | 新品価格 |
 | Arduino エントリーキット(Uno版)- Physical Computing Lab 新品価格 |
 | タミヤ 楽しい工作シリーズ No.216 3ch RCロボット製作セット 70216 新品価格 |
 | 新品価格 |
 | 新品価格 |
 | 新品価格 |
 | タミヤ 楽しい工作シリーズ No.211 アームクローラー工作セット 70211 新品価格 |
 | タミヤ 楽しい工作シリーズ No.97 ツインモーターギヤーボックス (70097) 新品価格 |
 | タミヤ 楽しい工作シリーズ No.106 4チャンネル・リモコンボックス (70106) 新品価格 |