新規記事の投稿を行うことで、非表示にすることが可能です。
2022年05月21日
Zabbix Server構築手順
 | 価格:32,999円 |
Zabbix Server構築手順
1.リポジトリインストール
rpm -Uvh https://repo.zabbix.com/zabbix/4.0/rhel/7/x86_64/zabbix-release-4.0-2.el7.noarch.rpm
━━━━━━━━━━━━━━━━━━━━━━━━━
■ 新品ファッションレンタル「メチャカリ」
━━━━━━━━━━━━━━━━━━━━━━━━━
・20〜30代女性に最も使われる新品ファッションレンタルアプリ※
・秋冬は新品コートもレンタル対象!
・返却時にクリーニング不要
・コンビニからQRコードで簡単返却
・まずは気軽にお試し★「3,278円/月」で新品新作を借りホーダイ
▼詳細はこちら
https://px.a8.net/svt/ejp?a8mat=3NAHGF+CP8XDE+4STE+5YZ77
※ファッションレンタルアプリ MAU数調査 2020年3月-2021年2月(アプリ分析サービスApp Ape 調べ)
━━━━━━━━━━━━━━━━━━━━━━━━━
2.Zabbix server、frontend、agentをインストール
yum install zabbix-server-mysql zabbix-web-mysql zabbix-agent
-----------------------------------------------
Total download size: 13 M
Installed size: 47 M
Is this ok [y/d/N]: y
-----------------------------------------------
Retrieving key from file:///etc/pki/rpm-gpg/RPM-GPG-KEY-ZABBIX
Importing GPG key 0x79EA5ED4:
Userid : "Zabbix SIA
Fingerprint: fbab d5fb 2025 5eca b22e e194 d13d 58e4 79ea 5ed4
Package : zabbix-release-4.0-2.el7.noarch (installed)
From : /etc/pki/rpm-gpg/RPM-GPG-KEY-ZABBIX
Is this ok [y/N]: y
-----------------------------------------------
Retrieving key from file:///etc/pki/rpm-gpg/RPM-GPG-KEY-CentOS-7
Importing GPG key 0xF4A80EB5:
Userid : "CentOS-7 Key (CentOS 7 Official Signing Key)
Fingerprint: 6341 ab27 53d7 8a78 a7c2 7bb1 24c6 a8a7 f4a8 0eb5
Package : centos-release-7-6.1810.2.el7.centos.x86_64 (@anaconda)
From : /etc/pki/rpm-gpg/RPM-GPG-KEY-CentOS-7
Is this ok [y/N]: y
-----------------------------------------------
3.Webインターフェースで日本語フォントにするためにzabbix-web-japaneseをインストール
yum install zabbix-web-japanese
-----------------------------------------------
Total download size: 2.2 M
Installed size: 4.0 M
Is this ok [y/d/N]: y
-----------------------------------------------
4.MariaDBサーバをインストール
※CentOS7からは、標準ではDBのパッケージはMysqlではなく、
MariaDBを使用しているとのことで、MariaDBをインストールする
yum install mariadb mariadb-server
------------------------------------------------
Total download size: 2.2 M
Installed size: 4.0 M
Is this ok [y/d/N]: y
------------------------------------------------
5.MariaDB設定
server.cnfの[mysqld]に下記設定を追加
※Zabbixで日本語が文字化けしないように文字コードをutf8に設定。
------------------------------------------------
vi /etc/my.cnf.d/server.cnf
[mysqld]
character-set-server = utf8
collation-server = utf8_bin
skip-character-set-client-handshake
innodb_file_per_table
-------------------------------------------------
6.MariaDBの起動
MariaDBの起動
-------------------------------------------------
systemctl start mariadb
systemctl enable mariadb
-------------------------------------------------
7.初期パスワード設定
-----------------------------------------------------------
mysql_secure_installation
パスワード入力
Enter current password for root (enter for none):
管理者パスワード設定有無
Set root password? [Y/n] Y
新しいパスワード入力
New password:【rootパスワード】
パスワード再入力
Re-enter new password:【rootパスワード】
匿名ユーザの削除要否
Remove anonymous users? [Y/n] Y
リモートrootログイン拒否
Disallow root login remotely? [Y/n] n
テストデータベースなどの削除
Remove test database and access to it? [Y/n] Y
設定反映してリロード
Reload privilege tables now? [Y/n] Y
--------------------------------------------------------------------
8.初期DBとユーザの作成
------------------------------------------------------------------
初回ログイン
mysql -uroot -p
Enter password:【rootパスワード】
データベース作成
create database 【DB名】;
データベース参照
show databases;
作成したDBへアクセスするユーザを作成する
grant all privileges on 【DB名】.* to 【DBユーザ名】@localhost identified by '【DBパスワード】';
ユーザとDBの紐付け参照
select user, host from mysql.user;
DBを抜ける
exit
------------------------------------------------------------------
9.ZabbixのMysqlバージョン確認
ls -l /usr/share/doc | grep zabbix-server-mysql
確認したバージョンを反映して下記を実行
zcat /usr/share/doc/zabbix-server-mysql-4.0.18/create.sql.gz | mysql -u【DBユーザ名】 -p 【DB名】
10.Zabbixサーバのデータベース設定
vi /etc/zabbix/zabbix_server.conf
-----------------------------
[before]
# DBHost=localhost
[after]
DBHost=localhost
-----------------------------
[before]
DBName=zabbix
[after]
DBName=【DB名】
-----------------------------
[before]
DBUser=zabbix
[after]
DBUser=【DBユーザー名】
-----------------------------
[before]
# DBPassword=
[after]
DBPassword=【DBパスワード】
-----------------------------
[before]
# StatsAllowedIP=
[after]
StatsAllowedIP=127.0.0.1
-----------------------------
11.zabbixフロントエンドのタイムゾーン設定
vi /etc/httpd/conf.d/zabbix.conf
-------------------------------------------------------
[before]
# php_value date.timezone Europe/Riga
[after]
php_value date.timezone Asia/Tokyo
-------------------------------------------------------
12.各種デーモンを起動
systemctl start zabbix-server
systemctl start zabbix-agent
systemctl start httpd
systemctl enable zabbix-server
systemctl enable zabbix-agent
systemctl enable httpd
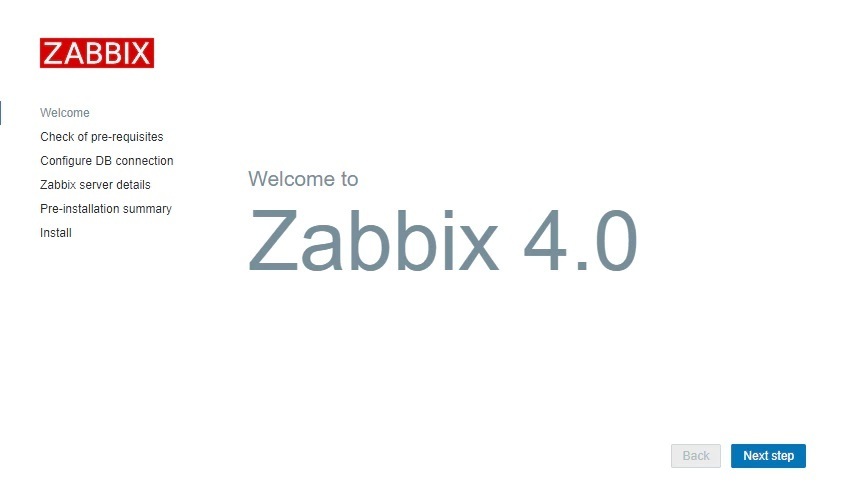
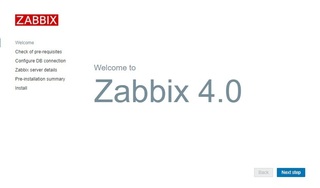
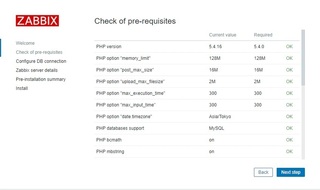
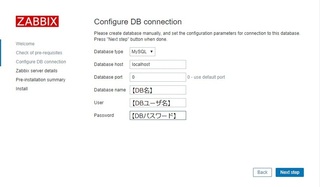
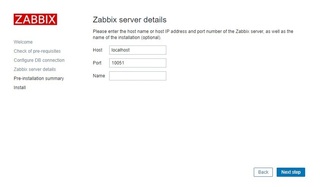
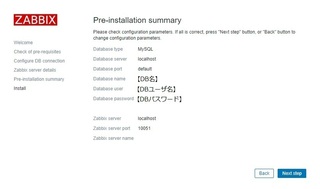
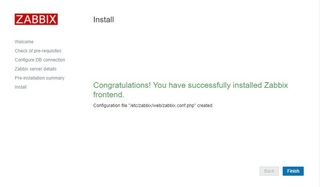
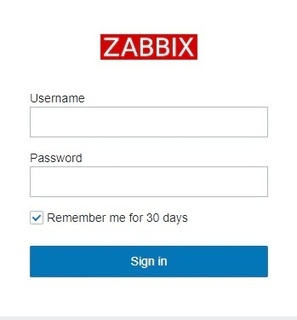
13.Webインターフェースを開く
 |
 |
 |
 |
 |
 |
 |
以上で、構築は完了ですが、監視はまだ何もできていないので、次回監視対象(Windows)の説明を記載致します。
