新規記事の投稿を行うことで、非表示にすることが可能です。
2024年04月21日
画像を表示する方法
以下の3パターンで画像を表示します。
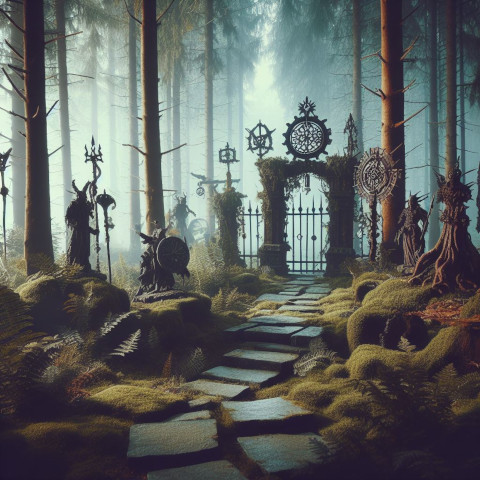
1)メイン画面の全体に画像を拡大して中央に表示します(背景画像)
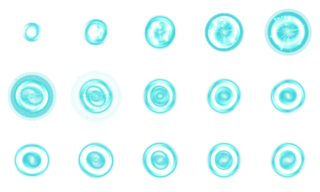
2)表示領域を指定して、その表示領域内にそのままの画像サイズで中央に表示します(モンスターの画像)
3)表示領域を指定して、その表示領域内に収まるように画像を縮小して中央に表示します(人物と人物背景の画像)


フォルダー構成
以下の構成でフォルダーを作成し、その下にファイルを置きます。
-
sample02
sample02.html
-
css
sample02.css
-
js
Sprite.js
sample02.js
-
img
statue.jpg ※背景の画像(480x480)
cript.png ※人物の画像(419x440)
Bubble.png ※モンスターの画像(210x220)
HTML
sample02.html
<!DOCTYPE HTML>
<html lang='ja'>
<head>
    <meta charset='utf-8'>
    <meta name="viewport" content="width=device-width" />
    <title>画像を表示する</title>
    <link rel="stylesheet" href="css/sample02.css" type="text/css" />
    <script src="js/Sprite.js"></script>
    <script src="js/sample02.js"></script>
</head>
<body>
    <div class="sample02">
        <div class="メイン画面">
            <canvas class="レイヤー1" width="640" height="640"></canvas>
        </div>
        <div class="画像">
            <img src="img/statue.jpg" alt="背景" />
            <img src="img/cript.png" alt="人物" />
            <img src="img/Bubble.png" alt="モンスター" />
        </div>
    </div>
</body>
</html>
17~19行目で表示する3つの画像ファイルを読み込んでいます。
これにより、onloadイベントでJavaScript の処理が実行する時には、画像ファイルが読み込まれた状態になります。
CSS
sample02.css
body,div,p,td,th {
    margin: 0;
    padding: 0;
}

.メイン画面 {
    position: relative;
    width: 640px;
    height: 640px;
    background-color: rgba(0, 0, 0);
    margin: 20px auto;
}

canvas {
    position: absolute;
}

.画像 {
    display: none;
}
19行目で、読み込んだimg要素の画像ファイルを非表示にしています。
img要素の画像はcanvas要素に表示する時に使用します。
JavaScript
Sprite.js
class スプライト {
    constructor(canvas) {
        this.canvas = canvas; // 表示先のcanvas要素
        this.ctx = canvas.getContext('2d'); // コンテクスト
        this.非表示フラグ = false; // 表示したくない時にtrueにする
    }

    画像を設定する(img, x1, y1, x2, y2, 拡大フラグ) {
        this.img = img; // 表示する画像のimg要素
        this.imgWidth = img.width; // 画像の横幅
        this.imgHeight = img.height; // 画像の縦幅
        this.表示座標を設定する(x1, y1, x2, y2, 拡大フラグ);
    }

    表示座標を設定する(x1, y1, x2, y2, 拡大フラグ = false) {
        // 画像の表示領域を指定する
        let width, height;
        if (x1 === undefined) {
            // 表示領域を指定する引数が省略された場合はcanvas全体を表示領域とする
            this.ctxX = 0;
            this.ctxY = 0;
            width = this.canvas.width;
            height = this.canvas.height;
        } else {
            this.ctxX = x1;
            this.ctxY = y1;
            width = x2 - x1;
            height = y2 - y1;
        }

        // 表示領域と画像のサイズを比較して、コンテクストに表示する座標を設定する
        let 横縮小率 = width / this.imgWidth;
        let 縦縮小率 = height / this.imgHeight;
        if ((横縮小率 < 1) || (縦縮小率 < 1) || 拡大フラグ) {
            // 表示領域より画像が大きい場合は、画像サイズを縮小して中央に表示する
            if (横縮小率 < 縦縮小率) {
                this.ctxWidth = width;
                this.ctxHeight = this.imgHeight * 横縮小率;
                this.ctxY += (height - this.ctxHeight) / 2;
            } else {
                this.ctxHeight = height;
                this.ctxWidth = this.imgWidth * 縦縮小率;
                this.ctxX += (width - this.ctxWidth) / 2;
            }
        } else {
            // 表示領域より画像が小さい場合は、そのままの画像サイズで中央に表示する
            this.ctxWidth = this.imgWidth;
            this.ctxX += (width - this.ctxWidth) / 2;
            this.ctxHeight = this.imgHeight;
            this.ctxY += (height - this.ctxHeight) / 2;
        }
    }

    描画する() {
        if (this.非表示フラグ) return;

        // 画像をコンテクストの座標に表示する
        this.ctx.drawImage(this.img, this.ctxX, this.ctxY, this.ctxWidth, this.ctxHeight);
    }
}
2行目のコンストラクタでは、画像を表示させる先のcanvas要素とそのコンテクストを取得します。
8行目の関数は、表示したい画像のimg要素と画像の横幅と縦幅を取得します。
15行目の関数で、画像のサイズと表示領域のサイズを比較し、画像サイズの方が大きい場合は画像サイズを縮小して中央に表示するように表示座標を設定します。
画像サイズの方が小さい場合で拡大フラグがtrueの場合は画像サイズを拡大して中央に表示するように表示座標を設定します。
拡大フラグがfalseの場合は画像サイズはそのままで中央に表示するように表示座標を設定します。
54行目の関数は、画像を表示座標に表示します。
sample02.js
class Sample02 {
    static main() {
        const canvas = document.querySelector(".sample02 .レイヤー1");
        const 画像リスト = document.querySelectorAll('.sample02 .画像 img');

        const 背景画像 = new スプライト(canvas);
        背景画像.画像を設定する(画像リスト[0], 0, 0, 640, 640, true);
        背景画像.描画する();

        const モンスター画像 = new スプライト(canvas);
        モンスター画像.画像を設定する(画像リスト[2], 0, 200, 640, 640);
        モンスター画像.描画する();

        const 人物背景画像 = new スプライト(canvas);
        人物背景画像.画像を設定する(画像リスト[0], 440, 0, 640, 200);
        人物背景画像.描画する();

        const 人物画像 = new スプライト(canvas);
        人物画像.画像を設定する(画像リスト[1], 440, 40, 640, 200);
        人物画像.描画する();
    }
}

addEventListener('load', Sample02.main);
3行目で、canvas要素を取得します。
4行目で、表示したい画像のリストを配列で取得します。
6行目で、背景画像のスプライトオブジェクトを作成します。
7行目で、背景画像のスプライトオブジェクトに背景画像のimg要素を設定します。
この時、6番目の引数の拡大フラグにtrueを指定します。
8行目で、背景画像をcanvas要素に描画します。
以降は同様にモンスター画像と人物背景画像、人物画像を描画します。
-
no image
-
no image
